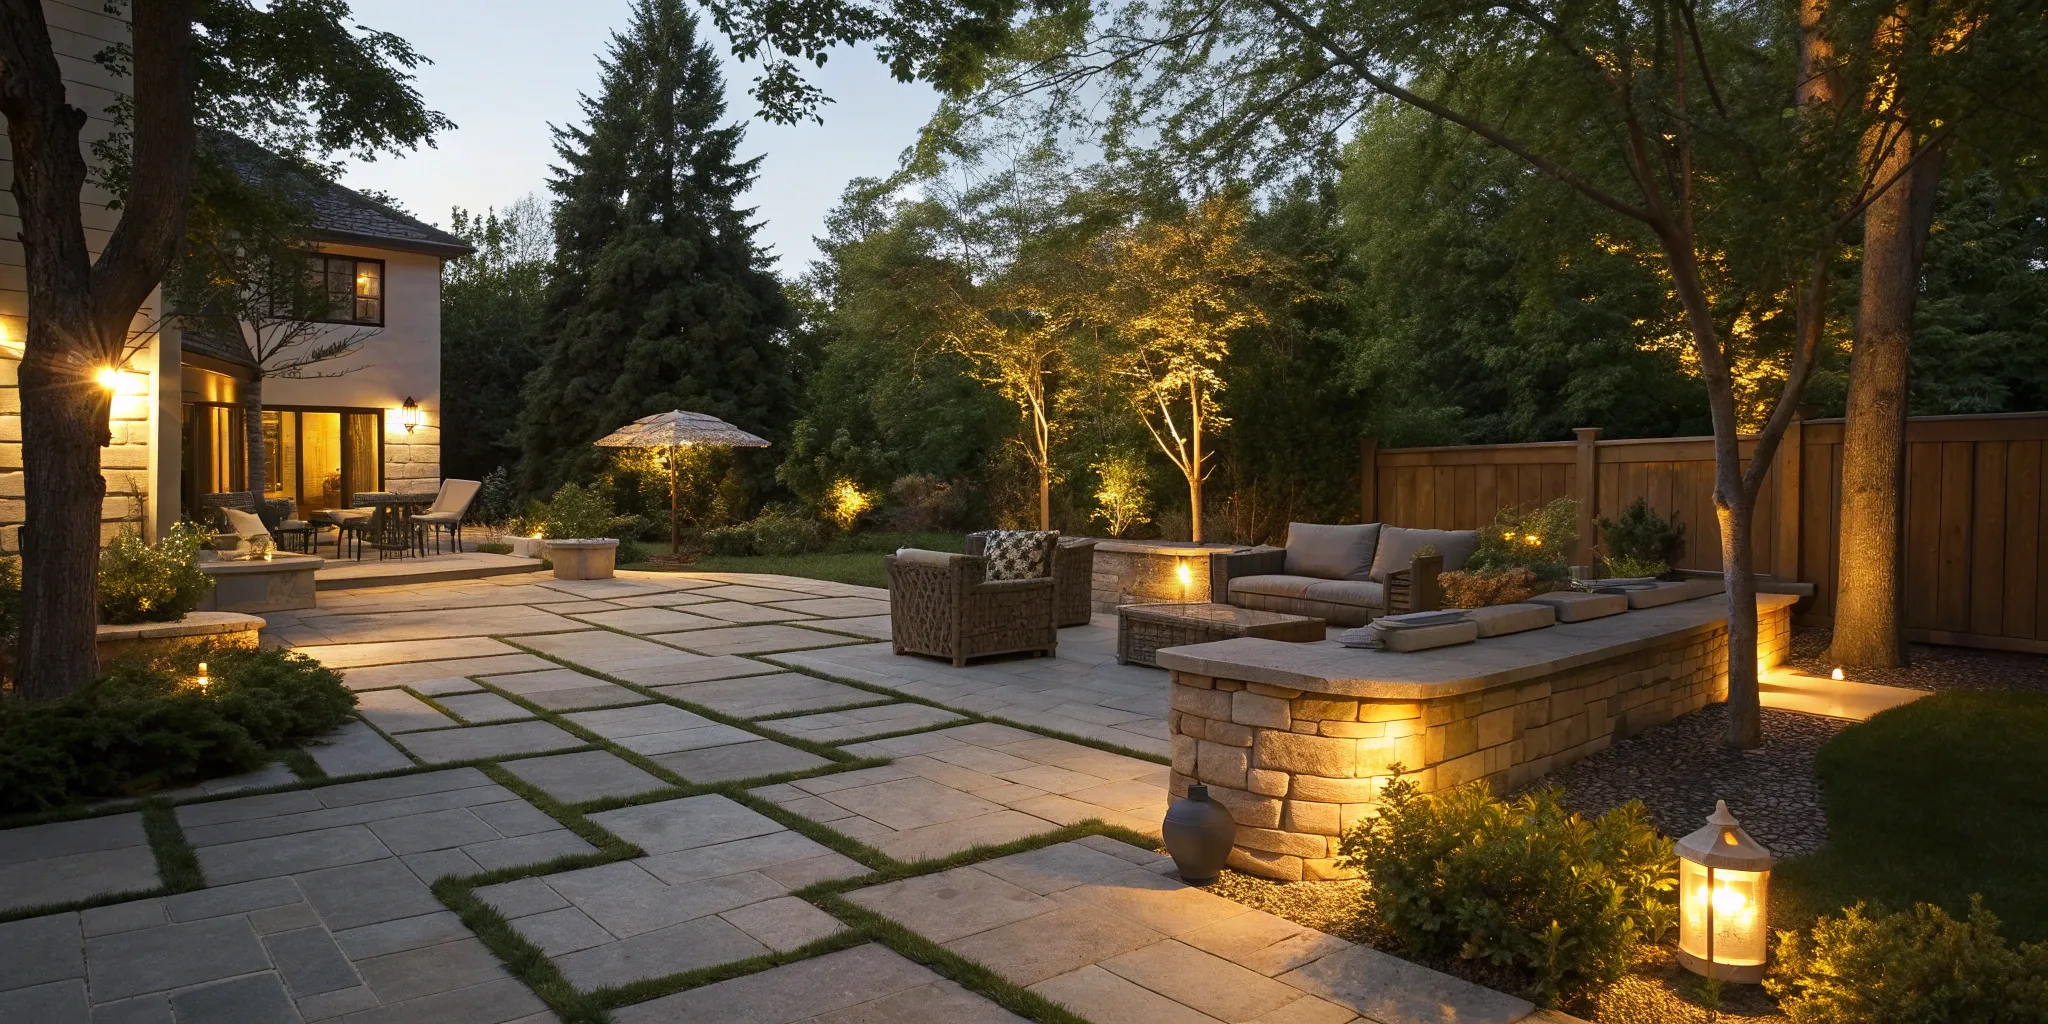
Your backyard should be a sanctuary, a place where you can unwind and connect with nature. The right foundation can transform it from a simple patch of grass into a true outdoor room. While concrete slabs are functional, they often lack the warmth and character that make a space feel special. Natural stone, with its rich colors and unique textures, provides a grounding, elegant surface that feels both luxurious and completely at home in the outdoors. A successful natural stone patio installation creates a seamless flow from your house to your garden, building a durable, low-maintenance floor for your life outside. This guide will walk you through the process, from the ground up.
Key Takeaways
- A Solid Foundation is Everything: Your patio’s stability depends entirely on the layers you can’t see. A deep, compacted base of gravel and sand with a slight slope for drainage is the most critical step to prevent shifting, sinking, and water issues down the road.
- The Right Sand Makes All the Difference: Don’t use regular sand for the joints, as it invites weeds and washes away. Using polymeric sand is essential for locking the stones together, creating a durable surface that resists weeds and erosion for a clean, low-maintenance finish.
- Be Realistic About the Scope and Skill Required: A simple square patio on level ground can be a rewarding DIY project. However, projects involving slopes, curves, or retaining walls require precision and specialized equipment to get right, making a professional installation a smarter long-term investment.
Why Choose a Natural Stone Patio?
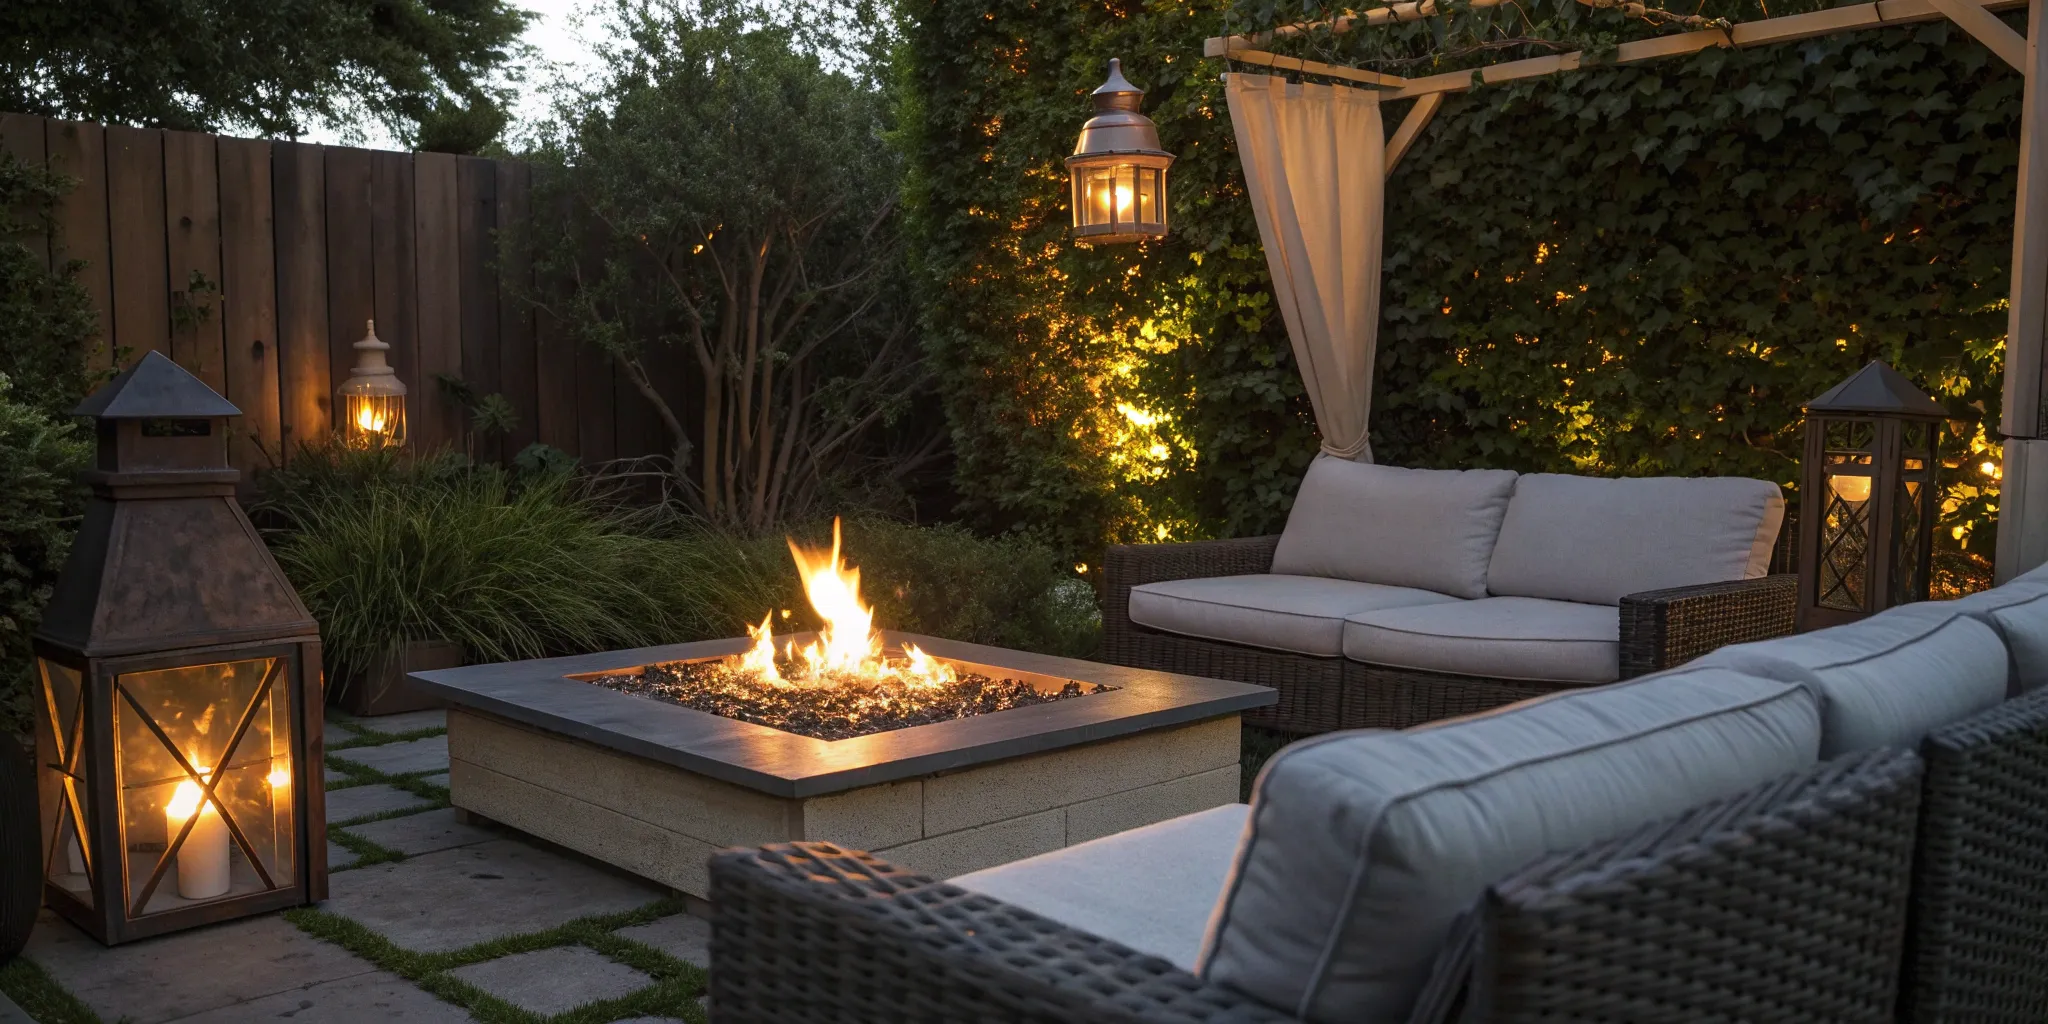
When you’re planning a new outdoor space, the foundation you choose sets the tone for everything else. While there are plenty of options, a natural stone patio offers a unique combination of timeless beauty and rugged strength that other materials just can’t match. It’s more than just a surface for your grill and patio furniture; it’s an organic, grounding element that turns your backyard into a true retreat. Think of it as the anchor for your entire outdoor living area—a space for morning coffee, family dinners, and quiet evenings around a fire pit.
Choosing natural stone means you’re investing in a feature that is built to last, completely unique to your home, and adds tangible value to your property. Unlike manufactured pavers or concrete slabs that can feel uniform and generic, each stone has its own story, with distinct colors, textures, and patterns shaped by nature. This allows you to create a space that feels both elegant and deeply connected to the outdoors. If you’re looking for a patio that will stand up to the Carolina weather, reflect your personal style, and serve your family for generations, natural stone is an incredible choice. Let’s explore a few of the biggest reasons why homeowners consistently fall in love with it.
Enjoy Decades of Durability
One of the most compelling reasons to choose natural stone is its incredible longevity. This isn’t a material that will fade, warp, or need replacing in a few years. Stone has already withstood the elements for millennia, so it’s more than capable of handling Carolina summers and the occasional winter freeze. Because it’s a natural, hardwearing material, it resists cracking and chipping far better than concrete. A properly installed stone patio is a permanent addition to your home. It’s also an environmentally friendly choice that helps create a soothing, tranquil outdoor living space where you can relax without worrying about constant upkeep.
Get a One-of-a-Kind Look
If you want a patio that is truly yours, nothing beats natural stone. No two stones are exactly alike, giving your space a character and depth that manufactured materials can’t replicate. You can choose from a wide range of colors, from the warm, earthy tones of flagstone to the cool, elegant shades of slate or bluestone. The unique textures and organic shapes allow for endless design possibilities, from rustic, irregular patterns to sleek, minimalist layouts. This natural variation means your patio will be a one-of-a-kind feature that complements your home’s architecture and landscape perfectly. You can see how different stones create different moods in our gallery of custom paver patios.
Add Lasting Value to Your Home
A natural stone patio is an investment that pays you back, both in daily enjoyment and in your home’s resale value. High-quality, permanent landscaping is a major selling point for potential buyers, and a beautiful stone patio signals quality and thoughtful design. It’s a feature that adds significant value to your property by creating functional, beautiful square footage outside the walls of your house. Unlike trendy updates that can quickly look dated, the timeless appeal of natural stone ensures it will remain a desirable feature for years to come. To get a better idea of how a stone patio could fit into your landscape, you can always book a free home consultation with our design team.
What You’ll Need for Your Stone Patio
A successful DIY patio project starts long before you dig the first shovelful of dirt. It begins with a solid plan and gathering all the right supplies. Taking the time to get organized now will save you from making frustrating mid-project trips to the hardware store and ensure the entire process goes smoothly. Think of it as setting up your workshop—having every tool and material ready means you can focus on the creative, rewarding work of building your beautiful new outdoor space. Let’s walk through exactly what you’ll need to bring your vision to life.
Your Materials Checklist
First up, let’s talk materials. The star of the show is, of course, the stone itself. Natural stone pavers like flagstone, granite, bluestone, and slate are all fantastic choices because they’re durable, low-maintenance, and offer a timeless look. Beyond the stone, you’ll need a few key ingredients to build a stable base and finish the job right.
Your shopping list should include:
- Natural Stone Pavers: The main event! Calculate your square footage and add about 10% extra for cuts and mistakes.
- Crushed Gravel: This forms the sturdy base layer that prevents shifting and settling.
- Coarse Sand: A thin layer of sand goes over the gravel to create a perfectly level bed for setting your stones.
- Polymeric Sand: This special sand is swept into the joints at the end. When activated with water, it hardens to lock stones in place and prevent weeds.
- Edging: Plastic, metal, or stone edging is essential for holding the patio’s perimeter secure.
The Right Tools for the Job
You don’t need a professional contractor’s entire truck, but a few specific tools will make this project much easier and give you better results. Many of the larger, more expensive items, like a plate compactor, can be rented from a local home improvement store for a day or a weekend.
Here’s a look at the tools you’ll want on hand:
- For Measuring & Marking: Tape measure, stakes, string, and marking paint.
- For Digging & Moving: A sturdy shovel, pickaxe (for tough soil), and a wheelbarrow.
- For Leveling & Compacting: A 4-foot level, a straight 2×4 board (as a screed), a hand tamper or plate compactor, and a rubber mallet.
- For Finishing: A heavy-duty broom, a landscape rake, and a diamond blade saw for any custom stone cuts.
How to Pick the Best Stone for the Carolinas
Choosing the right stone is about more than just color. You need to consider our unique Carolina climate—with its humid summers and occasional winter freezes—and how you plan to use your patio. For a high-traffic area that gets a lot of sun, you’ll want a dense, durable stone that won’t get too hot underfoot. Options like limestone, sandstone, and granite are popular, but for this region, dense bluestone is an excellent performer. It holds up beautifully to moisture and temperature changes. When you’re ready to explore your options, checking out a curated selection of high-quality outdoor pavers can help you find the perfect match for your home’s style and your family’s lifestyle.
Step 1: Prepare the Patio Site
A beautiful stone patio that lasts for decades starts with what’s underneath. Proper site preparation is the most critical part of the entire project because it creates the stable, well-draining foundation your stonework needs to handle weather, foot traffic, and time. Rushing this step can lead to shifting stones, pooling water, and other issues down the road.
Think of it like building a house—you wouldn’t start framing walls on uneven ground. Taking the time to measure, excavate, and grade the area correctly ensures your investment looks great and performs perfectly for years of backyard enjoyment. This is where the real work happens, but getting it right is incredibly rewarding. Let’s walk through how to create the perfect canvas for your new patio.
Measure and Mark the Area
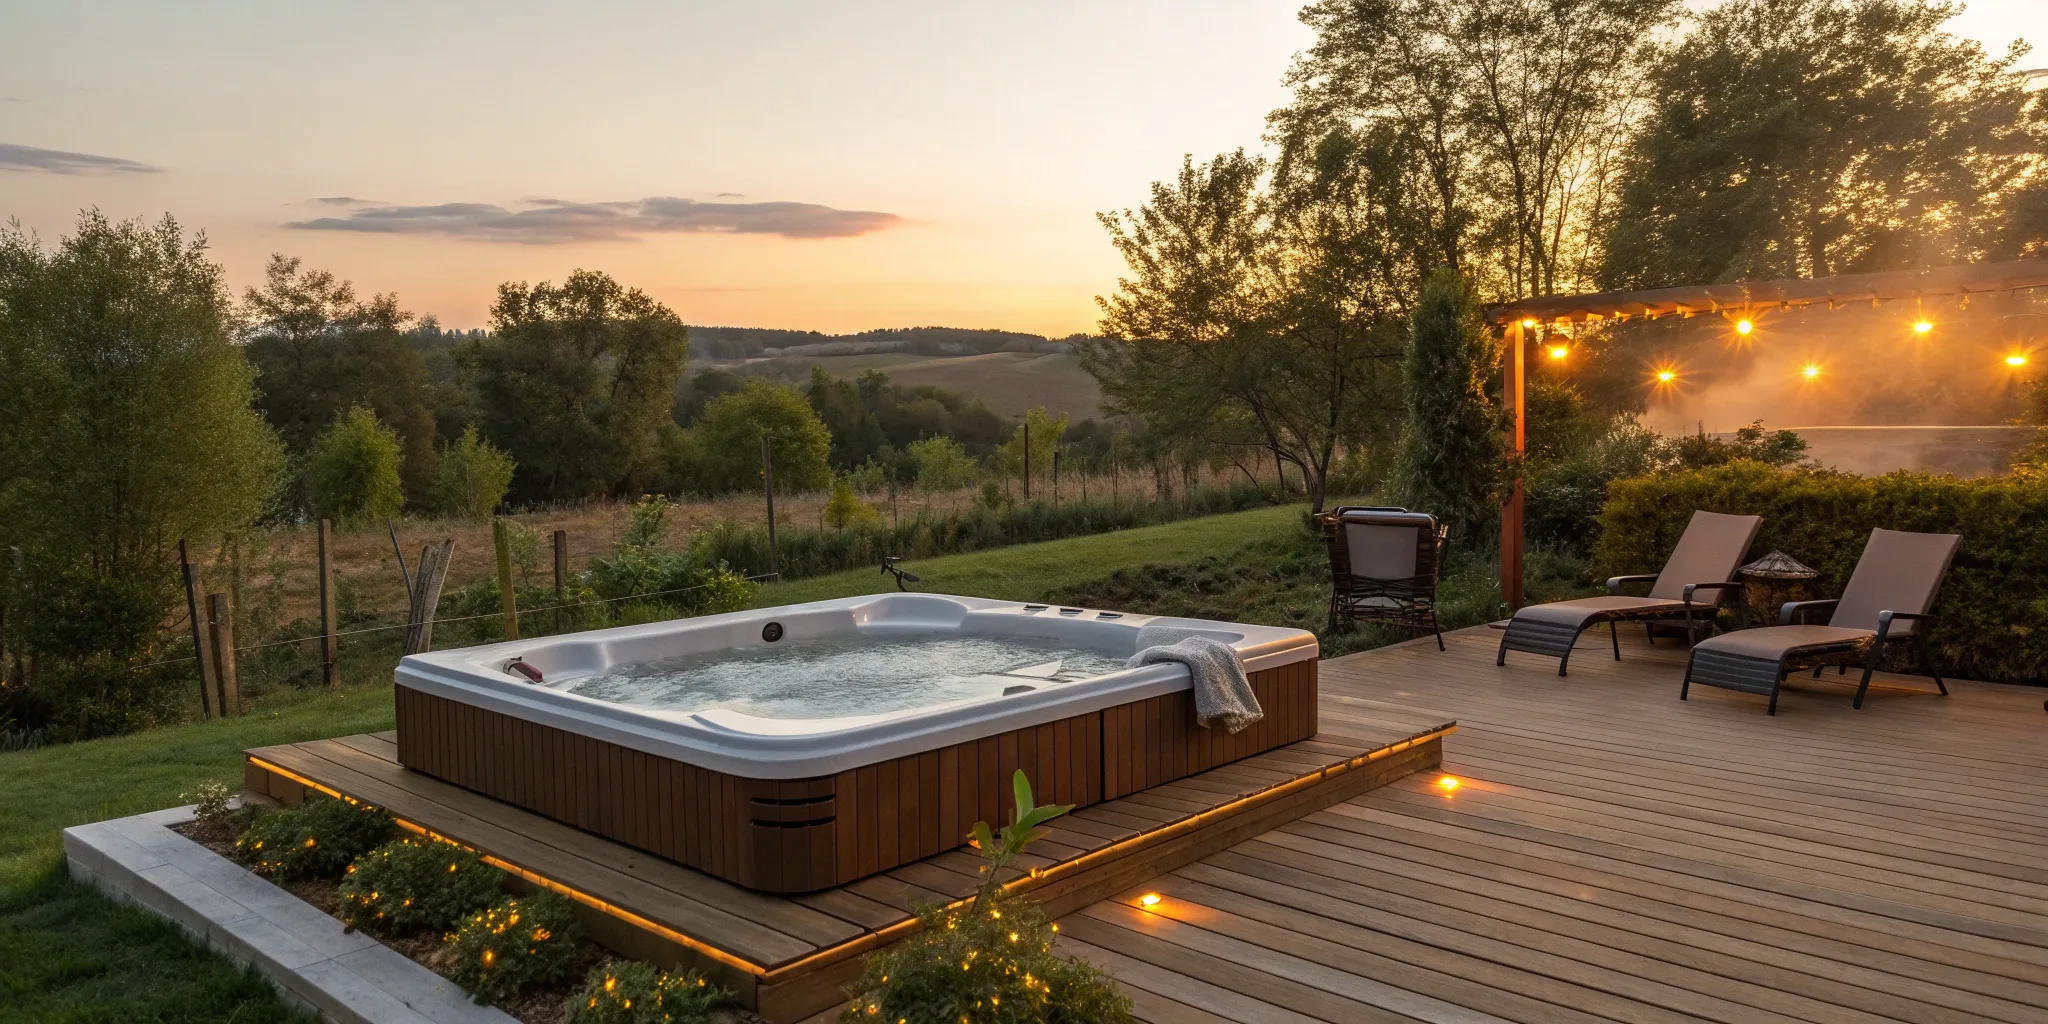
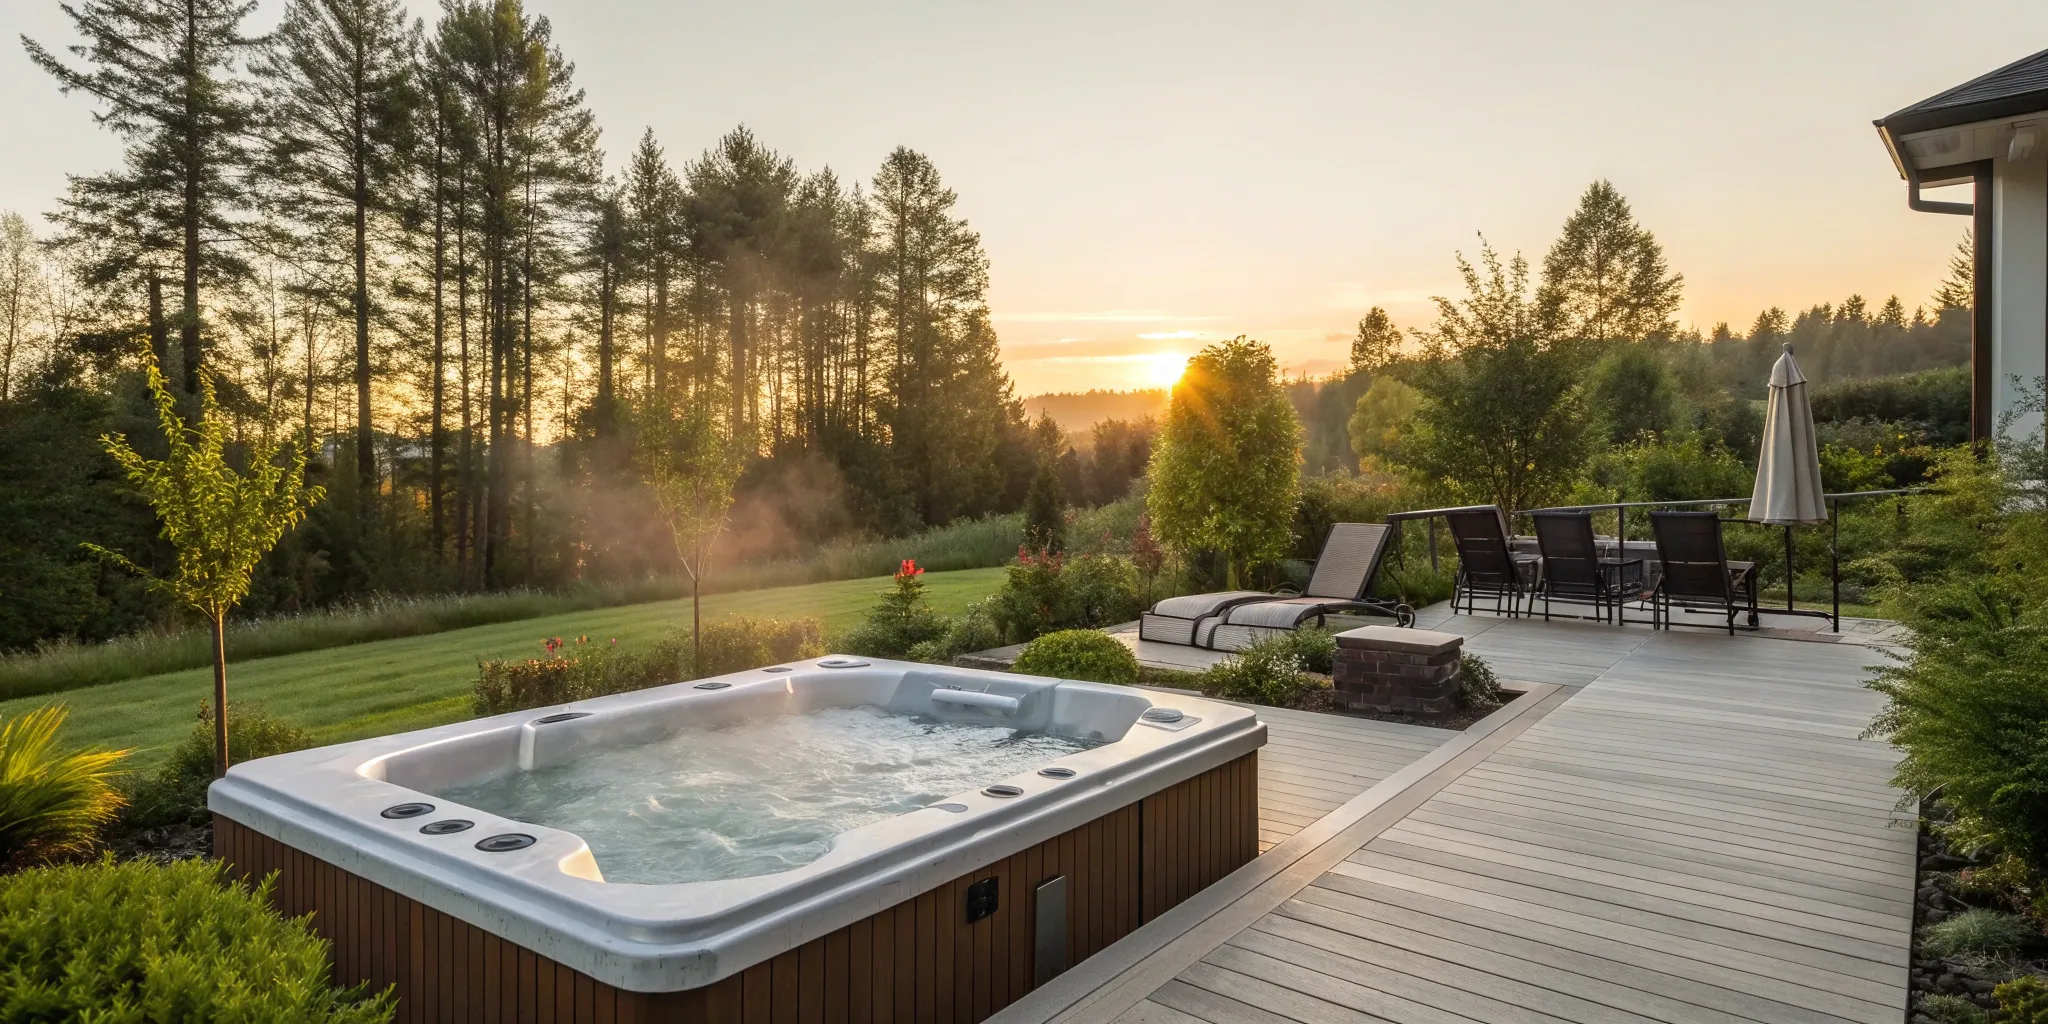
Before you pick up a shovel, you need a clear plan. Start by measuring your space and deciding exactly how you’ll use the patio. Will it be a cozy spot for a fire pit, a dining area for family cookouts, or a pathway connecting your back door to a new swim spa? Sketch out your design, considering the flow of traffic and placement of furniture. Once you have a shape in mind, use stakes and string or landscape marking paint to outline the perimeter on the ground. This simple step helps you visualize the final footprint and make any adjustments before you start digging.
Excavate to the Proper Depth
Now it’s time to get to work. You’ll need to dig out the entire marked area to make room for the gravel and sand base that will support the stones. For most climates, this means excavating about 6 to 12 inches deep. This depth provides enough space for a solid base that prevents the stones from shifting or sinking over time. This is the most labor-intensive part of the project, so take your time and be thorough. A flat-bottomed shovel is great for getting the base of your excavated area smooth and level before you move on to the next step.
Create the Right Slope for Drainage
Proper drainage is non-negotiable for a long-lasting patio. You need to ensure water flows away from your home’s foundation, not toward it. To do this, you’ll create a very gentle slope in the excavated area. The standard is a drop of about 1/8 to 1/4 inch for every foot of distance away from the house. This slight, almost unnoticeable tilt is all it takes to prevent puddles and potential water damage. You can use a level and string lines to check your grade as you work. Getting this slope just right is crucial, and it’s one area where professional design and build expertise can make all the difference.
Step 2: Build a Rock-Solid Base
Think of the base as the unsung hero of your patio. While the natural stone gets all the attention, the layers underneath are what guarantee your patio will look beautiful for decades to come. A poorly prepared base is the number one reason patios fail—stones shift, sink, and become uneven. Taking the time to build a solid foundation is the most important investment you can make in your project.
This process involves creating a multi-layer foundation of gravel and sand that provides two critical things: stability and drainage. A stable base won’t heave during freeze-thaw cycles, and proper drainage prevents water from pooling against your home’s foundation or turning your patio into a puddle. While it’s the most labor-intensive part of the job, getting it right ensures your beautiful stone paver patio remains a lasting feature of your home.
Install the Gravel Layer
The first layer of your foundation is a thick bed of gravel, often called paver base or crushed stone. This layer distributes the weight of the stones and allows water to drain away freely. Start by spreading a 3- to 6-inch layer of gravel evenly across your excavated area. For a driveway or area with heavier use, you’ll want to be closer to 6 inches.
As you add the gravel, it’s crucial to create a gentle slope away from your house—about 1/8 to 1/4 inch of drop for every foot of distance. This ensures rainwater runs off the patio instead of toward your home’s foundation. Use a level and a string line to check your slope as you go. Once the gravel is spread, compact it thoroughly with a hand tamper or a plate compactor until it’s firm and solid.
Add and Level the Sand
Next, you’ll add a layer of bedding sand. This 1- to 2-inch layer creates a perfectly smooth surface to set your stones on and helps lock them in place. Use a coarse, washed sand, as finer sand can wash away over time. Spread the sand evenly over your compacted gravel base.
To get the surface perfectly level, you’ll need to “screed” it. Lay two pipes or flat bars on either side of the area, making sure they are set at the correct height and slope. Then, pull a long, straight 2×4 board across the top of the pipes to smooth and level the sand between them. Once you’ve screeded a section, carefully remove the pipes and fill in the gaps with more sand. Lightly tamp the sand down to create a firm, even bed for the stones.
Compact Everything for a Stable Foundation
Before you even think about laying the first stone, one final compaction is essential. This step locks the gravel and sand layers together, creating a monolithic base that will resist shifting and settling for years. For this job, you’ll want to use a plate compactor, which you can rent from most home improvement stores.
Run the compactor over the entire sand and gravel base several times, moving in overlapping passes. You’ll see the surface become incredibly firm and solid. Don’t skip this step! Proper compaction is what prevents dips, wobbles, and uneven stones down the road. It’s the final seal of approval on your foundation, ensuring all your hard work results in a patio that is truly built to last.
Step 3: Lay the Natural Stone
With a solid base in place, it’s time for the most rewarding part of the project: laying the stone. This is where your vision truly comes to life, piece by piece. The key here is patience and precision. Taking your time to get the layout, spacing, and leveling just right will make all the difference in creating a patio that looks professionally installed and stands the test of time.
Plan Your Pattern with a Dry Fit
Before you permanently set a single stone, do a “dry fit.” Think of this as a dress rehearsal for your patio. Lay out the stones directly on the sand bed to see how your pattern will look. Start by placing the largest stones around the perimeter to establish a frame. Then, fill in the center, mixing different sizes and shapes to create a natural, appealing design. This step allows you to make adjustments, swap out stones, and perfect the layout without any pressure. It’s much easier to move a stone now than after it’s been set. For some visual ideas, check out the beautiful custom paver patios we’ve designed for homeowners across the Carolinas.
Set Each Stone with Proper Spacing
As you place each stone, aim for a consistent gap of about 3/8 to 1/2 inch between them. This spacing is crucial for both aesthetics and function. It creates clean, defined lines that highlight the unique shape of each stone. More importantly, these gaps will be filled with polymeric sand later, which hardens to lock the stones together, prevent shifting, and block weeds from sprouting. Use a tape measure or a small piece of wood as a spacer to keep your joints uniform. Consistent spacing is a hallmark of quality craftsmanship and ensures your patio remains stable and beautiful for years.
Keep the Surface Perfectly Level
A level patio is a safe patio. As you set each stone into the sand bed, gently tap it with a rubber mallet to settle it into place. Use a level to check each stone, ensuring it’s even with its neighbors. It’s a good idea to use a longer level (4 feet or more) to check for flatness across several stones at once. Remember to maintain the gentle slope you established in the base to ensure proper water drainage away from your home. Using string lines stretched across the area can also be a huge help in keeping your rows straight and your surface consistent. The stunning results in our project galleries are a testament to this meticulous process.
Cut Stones for a Custom Fit
Inevitably, you’ll need to cut some stones to fit perfectly along the edges of your patio or around obstacles. This is where you’ll need an angle grinder fitted with a diamond blade. Mark your cut line clearly with a pencil, and always wear safety glasses, gloves, and a dust mask. Make slow, steady cuts to avoid chipping the stone. Creating these custom fits is what gives your patio clean, finished edges and a truly professional look. If you’re not comfortable handling a grinder, or if your design involves complex curves, don’t hesitate to call in an expert. Our team can handle the entire process, from design to the final custom cut, with a free home consultation.
Step 4: Add the Finishing Touches
With the heavy lifting behind you, it’s time for the final steps that truly define the quality and longevity of your natural stone patio. This is where you lock everything into place, creating a stable, polished surface that will stand up to years of Carolina weather and family gatherings. These finishing touches prevent shifting, stop weeds in their tracks, and give your project a clean, professional look. Taking your time here ensures all your hard work pays off, transforming a collection of stones into a beautiful and functional outdoor floor.
Fill the Joints with Polymeric Sand
Think of this step as the grout for your patio. Polymeric sand is a special blend of fine sand with additives that bind together when activated with water. It hardens to lock stones in place, which is far more effective than regular sand. This creates a durable, flexible joint that resists erosion, prevents weeds from sprouting, and keeps ants from building nests between your stones. To apply it, make sure your patio surface is completely dry. Sweep the sand across the stones until every joint is filled. Then, use a leaf blower on a low setting to gently blow all the excess sand off the stone surfaces. Once the tops are clean, lightly mist the entire patio with a garden hose to activate the polymers.
Install a Secure Border
A border, or edge restraint, is the unsung hero of a durable patio. It acts as a frame, holding the entire structure together and preventing the outer stones from shifting or spreading apart over time. Without a secure border, the edges of your patio can begin to separate, creating unsightly gaps and an unstable surface. This is one of the most common reasons DIY patios fail. For a clean and effective border, you can install plastic or metal edging secured with heavy-duty spikes into the gravel base. Once installed, you can hide it by backfilling with soil and mulch or sod. This simple step is crucial for maintaining the integrity of your beautiful new paver patio for decades to come.
Do a Final Compaction and Cleanup
One last pass with a plate compactor will set your stones firmly into the bedding layer and settle the polymeric sand deep into the joints. It’s a good idea to use a protective pad on the compactor to avoid scuffing or cracking your beautiful natural stone. After this first compaction, you’ll likely notice the sand has settled, so sweep a little more into the joints to top them off. Once the joints are full and the excess sand is blown off the surface, you can do the final water activation. After the sand has had time to cure (usually 24 hours), give the area a final cleanup, put your tools away, and get ready to furnish your new outdoor oasis.
Common Installation Mistakes to Avoid
Building a natural stone patio is an incredibly rewarding project, but a few common missteps can turn your dream backyard into a source of frustration. Even the most carefully laid plans can go awry if you overlook a few key details during installation. From the ground up, every layer matters. Getting it right the first time saves you from costly and time-consuming repairs down the road. Let’s walk through the most frequent mistakes so you can sidestep them and ensure your new patio is beautiful, safe, and built to last for years of enjoyment.
An Unstable Base That Causes Shifting
The long-term stability of your patio depends entirely on the foundation you build beneath it. One of the most critical errors is failing to create a deep, compacted base of gravel and sand. Without this solid footing, the stones will inevitably shift, wobble, and become uneven over time. This not only looks messy but also creates tripping hazards. As one DIYer learned, a weak base can cause stones to move and allows weeds to grow through the gaps. Taking the time to properly excavate and compact your base layers is non-negotiable for a patio that will stand the test of time and foot traffic.
Poor Drainage That Leads to Water Damage
Water is a patio’s worst enemy if not managed correctly. Proper drainage is essential to prevent pooling water, which can erode the base, damage your home’s foundation, and create slick, icy spots in the winter. The solution is simple but crucial: your patio must have a gentle slope away from your house. A good rule of thumb is to create a grade of about ¼-inch for every foot of patio. This slight decline is almost unnoticeable to the eye but ensures that rainwater and melting snow are directed away from your home and into your yard, protecting your investment from water damage.
Incorrect Joint Filling That Invites Weeds
The material you use to fill the joints between your stones makes a huge difference in both the look and maintenance of your patio. Simply sweeping in regular sand is a common mistake that practically invites weeds to take root. A much better option is to use stone dust or, ideally, polymeric sand. After you sweep it into the joints, a light spray of water activates a binding agent in the sand, hardening it to lock the stones in place. This creates a durable, flexible bond that effectively blocks weed growth and resists erosion from rain, keeping your paver patio looking clean and pristine.
Forgetting to Check Local Building Codes
Before you even break ground, it’s vital to do your homework on local regulations. Many homeowners dive into their project without realizing that some patio installations may require a permit or need to follow specific zoning and building codes. This can depend on the size of the patio, its proximity to property lines, or if it includes features like a retaining wall. Overlooking this step can lead to fines or even force you to tear out your hard work. A quick call to your local municipal office can clarify the rules. Or, you can work with a professional team that handles all the permitting for you during a free home consultation.
How to Care for Your New Stone Patio
Your beautiful new stone patio is a major investment in your home and lifestyle, and a little routine care is all it takes to protect it for years to come. Unlike high-maintenance wood decks, natural stone is incredibly resilient and forgiving. With just a few simple habits, you can keep your patio looking as stunning as the day we finished the installation. Think of it less as a chore and more as a simple way to preserve your outdoor sanctuary.
Most of the work involves basic cleaning and keeping an eye on the small stuff, like weeds or shifting sand. By staying on top of these minor tasks, you prevent bigger issues from ever developing. Here’s a straightforward guide to maintaining the beauty and integrity of your custom paver patio.
Simple Cleaning and Seasonal Upkeep
The best way to keep your stone patio looking fresh is with regular, gentle cleaning. Start by sweeping away leaves, dirt, and other debris with a stiff-bristled broom every week or so. This prevents organic matter from staining the stone or settling into the joints. For a deeper clean, simply rinse the entire surface with your garden hose.
Be sure to pull any weeds or moss as soon as you spot them. Catching them early stops their root systems from growing deep into the joint sand and becoming a bigger problem. A quick seasonal check-up is all you need to ensure your patio remains the stunning centerpiece of your backyard.
When and How to Seal Your Stone
Sealing a natural stone patio is an optional step, but it’s one that can offer great long-term benefits. A quality sealer acts as a protective barrier, making the stone resistant to stains from spills, grease, or fallen leaves. It can also enhance the natural colors of the stone, giving them a richer, more vibrant look.
If you decide to seal your patio, it’s crucial to follow the manufacturer’s instructions precisely. Generally, you’ll want to wait at least a month after installation to ensure the stone and joint sand are completely dry. Applying sealer is a great way to protect your pavers and simplify cleaning, especially in high-traffic areas or under a grill.
Handling Weeds and Minor Repairs
Over time, you might notice small weeds popping up or the sand in the joints settling a bit. This is perfectly normal and easy to fix. For refilling gaps between stones, polymeric sand is your best friend. This special sand mixture contains a polymer that hardens when activated with water, locking the stones in place and creating a firm, durable barrier that helps deter weeds and insect infestations.
To make a repair, just sweep the dry polymeric sand into the joints until they are full. Lightly mist the area with water to activate the binding agent, and let it cure. This simple touch-up keeps your patio stable and looking sharp, just like the beautiful patios and pergolas we build for our clients.
DIY or Hire a Pro? How to Decide
The satisfaction of completing a home project yourself is undeniable. But when it comes to installing a natural stone patio, it’s smart to weigh the pros and cons before you start digging. This isn’t just about saving money; it’s about ensuring your new outdoor space is beautiful, safe, and built to last for years of cookouts and quiet mornings. Let’s walk through how to decide which path is right for you.
Assess the Project’s Complexity
First, be honest about the scope of your project. Are you planning a simple, small square patio on perfectly level ground? That might be a manageable DIY. But if your vision includes curves, multiple levels, retaining walls, or integrating with existing structures, the complexity grows quickly. Laying a stone patio is physically demanding work that requires a lot of heavy lifting and precision. A poorly graded base or uneven stones can create tripping hazards and drainage nightmares. For a look at what goes into more intricate designs, you can explore a gallery of professional paver patios to see how the details come together.
Consider Your Time and Equipment
While some guides suggest you can build a stone patio in a weekend, that timeline often assumes you have the right tools, some experience, and a straightforward design. You’ll need more than a shovel and a wheelbarrow; professional-grade results require tools like a plate compactor, a wet saw for cutting stone, and various levels and hand tools. Renting this equipment adds to the cost and learning curve. More importantly, consider your time. A project that takes a professional crew a few days could consume your weekends for a month or more. For many busy homeowners, the time saved by hiring an expert is worth the investment.
When It’s Time to Call in the Experts
Hiring a professional costs more upfront, but it ensures the job is done right the first time. The most critical part of any patio is the base, and this is where DIY projects often fail. An improperly prepared or compacted base can cause stones to shift and wobble over time, creating an uneven surface and allowing weeds to grow through the joints. A professional team has the experience to build a stable foundation that withstands the Carolinas’ weather for decades. If you want a flawless finish, a complex design, or simply peace of mind, it’s time to call in the experts. A free design consultation can help you visualize what’s possible and get a clear plan for your dream patio.
Related Articles
Frequently Asked Questions
How much more expensive is natural stone compared to concrete pavers? Natural stone does have a higher upfront material cost than manufactured concrete pavers. However, it’s best to think of it as a long-term investment in your home’s value and your own enjoyment. Because of its incredible durability, a stone patio won’t need to be replaced and will maintain its beauty for decades, often outlasting pavers that can fade or crack over time. The timeless appeal and unique character of natural stone also add a level of quality and permanence that pays for itself in the long run.
Is a natural stone patio slippery when it gets wet? This is a great question, especially for families with kids or for areas around a spa. Most natural stones, like flagstone or bluestone, have a naturally textured, cleft surface that provides excellent traction even when wet. Unlike some smooth, manufactured materials, the inherent roughness of the stone offers a reliable grip. If you’re particularly concerned, certain finishes can be applied to stones like granite to increase their slip resistance even further.
Can I safely put a fire pit on my new natural stone patio? Absolutely! A stone patio is the perfect foundation for a fire feature. Dense, durable stones like granite, slate, and bluestone are non-combustible and can handle the heat without cracking or becoming damaged. We do recommend using a protective barrier like a fire pit mat or a steel base to prevent any soot or ash from staining the stone’s surface, which makes cleanup much easier and keeps your patio looking pristine.
How often will I need to reseal my patio or replace the sand in the joints? One of the best things about a professionally installed stone patio is how little maintenance it requires. The polymeric sand used to fill the joints is incredibly durable and can last for many years without needing a complete overhaul, though you might do a minor touch-up in a high-traffic spot every few years. Sealing is an optional step to enhance color and add stain resistance; if you choose to do it, it typically only needs to be reapplied every 3 to 5 years.
Why should I hire a professional if the process seems straightforward? While the steps to building a patio are straightforward on paper, the real expertise lies in what you can’t see. A professional installation guarantees that the base is perfectly excavated, graded for drainage, and compacted to prevent any shifting or sinking for decades to come. This foundation is the single most important factor in a patio’s longevity. Hiring an expert team ensures every detail is handled correctly, saving you from the costly and frustrating repairs that often come with a failed DIY base.