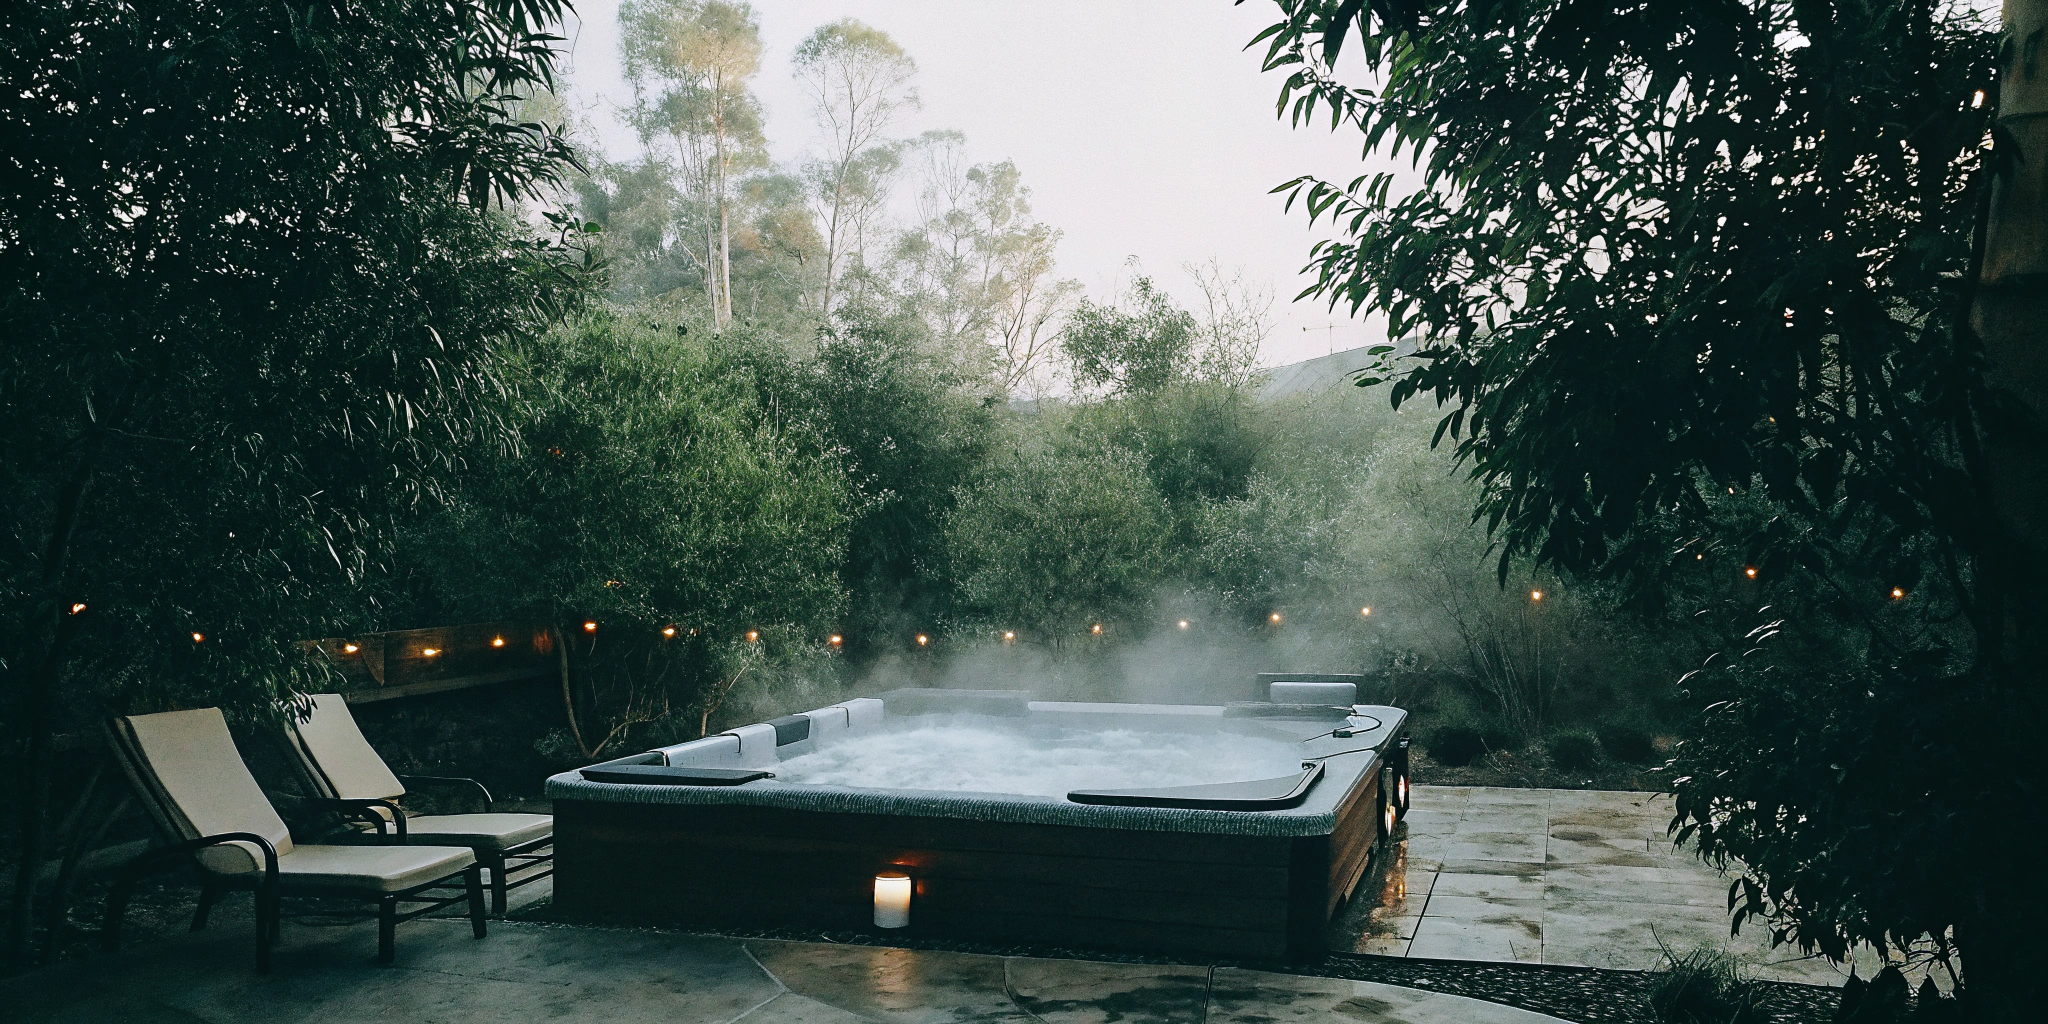
What you see on the surface of your hot tub water is only half the story. Hidden inside the plumbing, unseen buildup from oils and lotions can form a layer of gunk called biofilm. Simply draining and refilling your spa won’t get rid of it. To get your spa truly clean, you need a process that cleans from the inside out. This guide will show you exactly how to clean a Hot Spring hot tub the right way, starting with a system flush to purge the lines. We’ll then cover cleaning the shell, filters, and refilling for perfectly balanced, fresh water.
Key Takeaways
- Clean the pipes, not just the tub: Before draining, use a line flush product to clear out hidden biofilm and oils from your spa’s plumbing. This single step ensures your fresh water isn’t contaminated by old gunk, making it easier to keep your water balanced.
- Consistent filter care is non-negotiable: Your filters are the key to clear water and a healthy spa. Rinse them monthly to remove debris and deep clean them every few months with a proper filter cleaner to break down stubborn oils, protecting your pumps and heater from strain.
- Set your new water up for success: After refilling, always balance your pH and alkalinity before adding any sanitizer. This creates the right foundation for your sanitizer to work effectively and prevents common issues like cloudy water and skin irritation right from the start.
Step 1: Prep Your Hot Tub for Cleaning
Before you grab a sponge, a little prep work will make your cleaning session much more effective and safe. Think of it like prepping a room before you paint—taping the edges and laying down a drop cloth makes the actual painting go smoother. For your Hot Spring spa, this means clearing out the old water and, more importantly, cleaning the internal plumbing you can’t see. Over months of use, oils, lotions, and minerals can create a layer of buildup, or biofilm, inside the pipes. Simply draining and refilling the tub won’t get rid of it.
Taking these few extra steps ensures you’re not just cleaning the shell but giving the entire system a fresh start. This process removes that hidden gunk from the lines, so when you refill, you’re starting with a truly clean slate. It’s the secret to clearer, safer water that’s easier to maintain long-term. If you ever feel overwhelmed by the process or just don’t have the time, remember that our Spa Valet service team is always here to handle the deep cleaning for you.
Shut Off Power at the Breaker
This is the most important step, so please don’t skip it. Before you do anything else, head to your home’s main circuit breaker panel and switch off the power to your hot tub. You want to be absolutely sure there is no electricity running to the spa’s components while you work. Turning it off at the topside control panel isn’t enough. Cutting the power at the source prevents the pumps or heater from accidentally kicking on while the tub is empty, which could damage the equipment. Safety first, always.
Use a Line Flush Before Draining
You might be tempted to drain the water right away, but hold on! The plumbing lines in your hot tub can collect biofilm and other gunk over time. A spa line flush is a special product designed to break down and purge this buildup from the pipes. Simply pour the recommended amount into your old spa water, turn the power back on temporarily, and run the jets for about 20-30 minutes. You might see some unpleasant foam or flecks appear—that’s a good sign it’s working! Once the cycle is done, be sure to shut the power off at the breaker again before moving on.
Drain the Spa Completely
Now it’s time to say goodbye to that old water. Locate the drain spigot on your Hot Spring spa, connect a standard garden hose, and run the other end to a suitable drainage area away from your home’s foundation. Gravity will do most of the work, but it can be a slow process. To speed things up, you can use a submersible pump. Once the water stops flowing, there will still be some left in the footwell and seats. Use a shop vac or a large sponge and bucket to remove the last bit of water for a completely empty tub.
Gather Your Tools and Safety Gear
Having everything you need on hand makes the job much easier. Grab a pair of rubber gloves to protect your hands, a few soft microfiber cloths or non-abrasive scrub pads, and a bucket of fresh water for rinsing. Most importantly, only use cleaning products specifically designed for hot tub acrylic. Household cleaners like glass cleaner or all-purpose bleach sprays can damage the shell and throw your water chemistry way off when you refill. If you need advice on the best products, stop by any of our showrooms for a free water analysis and expert recommendations.
Step 2: Clean the Hot Tub Shell and Surfaces
With your hot tub empty, it’s time to give the shell a proper cleaning. This step is all about removing any buildup from oils, lotions, and minerals, which leaves you with a smooth, sparkling surface. Think of it as giving your spa a fresh start. A clean shell not only looks better but also makes it much easier to keep your water balanced once you refill. Taking the time to be thorough here will pay off in the long run, preventing stubborn stains and ensuring your water stays clear and inviting. Grab a few soft cloths and a spa-safe cleaner, and let’s get to it.
Select a Spa-Approved Cleaner
First things first, put away the household cleaners. Products with bleach, ammonia, or harsh abrasives can permanently damage your hot tub’s acrylic shell. Instead, choose a cleaner specifically formulated for spas, or use a simple paste of baking soda and water for minor spots. These gentle options will effectively cut through grime without scratching the surface. Apply your chosen cleaner with a soft, damp cloth or sponge. The goal is to lift away residue, not strip the finish, so always start with the mildest solution that gets the job done.
Wipe Down the Shell and Tackle the Scum Line
Start at the top and work your way down, wiping the entire interior surface of the spa. Pay close attention to the waterline, where a “scum line” often forms from body oils and lotions. This ring can be a bit stubborn, but a dedicated spa cleaner should lift it easily. Wiping down the shell while it’s empty is far more effective than trying to scrub it when full. If you’d rather leave the deep cleaning to the pros, our Spa Valet plans offer routine care to keep your hot tub in pristine condition.
Gently Remove Stubborn Stains
If you come across a few spots that won’t budge with a soft cloth, you can use a non-abrasive pad or a nylon scrubber. Apply gentle pressure in a circular motion to lift the stain without scratching the acrylic. Most stains are caused by mineral deposits or metals in the water, which is a good reminder of why balanced water chemistry is so important. Preventing stains is always easier than removing them, so be sure to bring a water sample to any of our showrooms for a free water analysis to keep your levels in check.
Detail Your Jets, Pillows, and Cup Holders
Don’t forget the details. Grime can build up in and around your jets, so wipe them down carefully. An old, soft toothbrush can be a great tool for getting into tight crevices without scratching anything. Remove your Hot Spring spa pillows and clean them separately with a mild soap and water solution before rinsing them well and letting them air dry. Give the cup holders, filter compartment, and any other recessed areas a good wipe-down, too. These small spots are often overlooked but are key to a truly clean spa experience.
Rinse Away All Cleaning Residue
Once you’re satisfied that every surface is clean, the final and most important step is to rinse everything thoroughly. Use a garden hose to wash down the shell from top to bottom, making sure all traces of cleaner are gone. Any leftover soap residue will cause foamy water and make it difficult to balance your chemicals later. Direct the water toward the footwell so it can drain out completely. A final, quick wipe with a clean, dry towel can help remove any remaining water droplets before you begin refilling.
Step 3: Clean and Inspect Your Hot Spring Filters
Think of your filters as the kidneys of your hot tub—they work tirelessly behind the scenes to catch debris, oils, and lotions, keeping your water crystal clear. When they get clogged, your spa’s performance suffers, jets can weaken, and your water quality goes downhill fast. Giving your filters regular attention is one of the most important things you can do to protect your investment and ensure a perfect soak every time. It’s a simple routine that prevents bigger headaches later.
If you ever find that life gets too busy to keep up with maintenance, remember that our Spa Valet Plans can handle all of this for you. But if you’re ready to tackle it yourself, here’s how to get it done right.
How to Rinse Your Filters Monthly
Once a month, make it a habit to give your filters a quick rinse. You’ll want to power down your spa before removing them. Once they’re out, just use a garden hose with a spray nozzle to wash away any visible debris caught between the pleats. Work your way from the top down, rotating the filter as you go to make sure you hit every angle. This simple ten-minute task is your first line of defense against cloudy water and helps your spa’s circulation system run smoothly.
Deep Clean with FreshWater Instant Filter Cleaner
While a monthly rinse is great for surface-level gunk, it won’t break down the stubborn oils, lotions, and hair products that build up over time. For that, you need a deep clean every few months using a product designed for the job, like FreshWater® Instant Filter Cleaner. This specialized cleaner dissolves the grime that water alone can’t touch. Just follow the directions on the bottle—it usually involves spraying the filter thoroughly, letting it sit for a bit, and then giving it a final, comprehensive rinse. This step is key to maintaining excellent water chemistry, which you can always check with our free water analysis service.
Know When to Replace Your Filters
Even with perfect care, your filters won’t last forever. The fibers break down over time, becoming less effective at trapping contaminants. As a rule of thumb, you should plan on replacing your Hot Spring filters every three years. You’ll also know it’s time for a new set if you notice the pleats are looking frayed, the end caps are cracked, or they just don’t come clean anymore. Always stick with genuine Watkins replacement filters. They’re designed to fit your Hot Spring spa perfectly and provide the best possible filtration, protecting your spa’s components from unnecessary strain.
Special Care for FreshWater Salt System Filters
If your Hot Spring spa is equipped with the FreshWater Salt System, you likely have the gray Tri-X filters. These high-performance filters come with a fantastic perk: they’re dishwasher safe! This makes deep cleaning incredibly easy. Just place them on the racks of your dishwasher, run a cycle using only water (no soap or detergent!), and be sure to skip the heated dry setting. The hot water will effectively loosen and wash away oils and buildup without any scrubbing on your part. It’s a simple, effective way to keep your advanced filtration system in top shape.
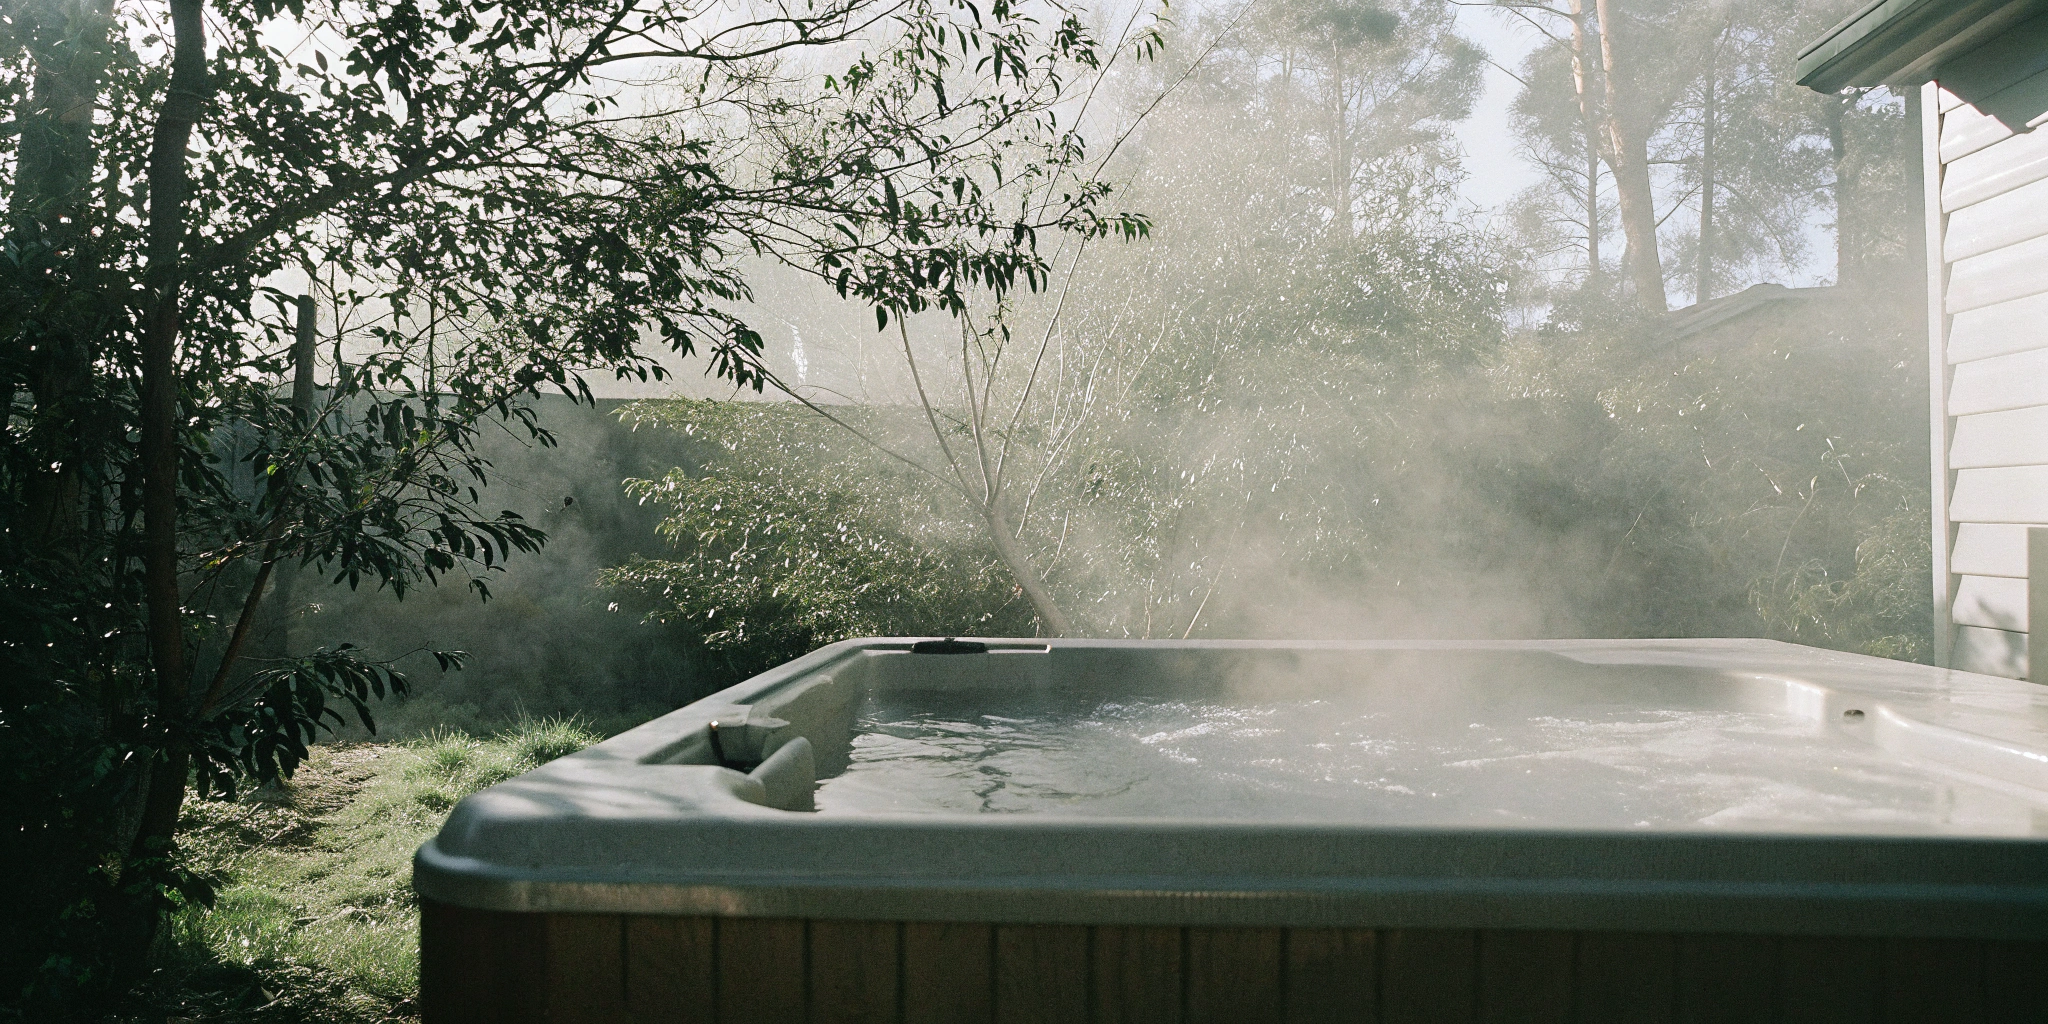
Step 4: Refill Your Spa and Balance the Water
With a sparkling clean shell and fresh filters, you’re on the home stretch. Refilling your hot tub isn’t just about turning on the hose; it’s about setting the stage for clean, balanced water from day one. This final step ensures your water is safe, comfortable, and easy to maintain until your next drain and clean. Taking a few extra minutes here to properly filter the new water and balance your chemicals will save you a lot of time and frustration later. Think of it as creating the perfect blank canvas for your hot tub water. When you start with pure, balanced water, your sanitizers work more efficiently, your skin feels better, and your spa components stay protected. Let’s walk through the right way to fill it up and get it ready for your next soak.
Refill Using a CleanScreen Pre-Filter
Before you put the hose in your spa, attach a Hot Spring CleanScreen™ Pre-Filter to the end. This simple step makes a huge difference in your water quality. As water flows through it, the pre-filter traps unwanted contaminants commonly found in tap water, like dirt, rust, and metals such as copper and iron. Starting with cleaner, purer water means your chemicals will work more effectively and you’ll have an easier time balancing everything. Just place the hose in the filter compartment to avoid creating air pockets in the plumbing, turn on the water, and let it fill to the recommended level—usually just above the highest jets.
Test and Adjust pH and Alkalinity First
Once your hot tub is full, it’s time to balance the water chemistry. The very first thing you should do is test the pH and total alkalinity. These two factors are the foundation of balanced water, and they need to be in the proper range before you add any sanitizer. If your pH and alkalinity are off, your sanitizer won’t be able to do its job correctly, which can lead to cloudy water or skin irritation. Use a reliable test strip to check your levels and add adjusters as needed. If you’re ever unsure, you can bring a sample to any of our showrooms for a free water analysis—we’ll help you get it just right.
Add Sanitizer and Balance Your Chemicals
After your pH and alkalinity are stable, you can add your sanitizer. Whether you use traditional chlorine, bromine, or the FreshWater Salt System, the goal is to establish a residual level that will actively kill bacteria and keep your water clean and safe. Follow the instructions on your sanitizer’s packaging for the correct starting dose based on your spa’s water capacity. Be careful not to overdo it, as too much sanitizer can be harsh on your skin, eyes, and lungs. The key is to find that perfect balance where the water is sanitized without being overly chemical-heavy.
Circulate Water Before Hopping In
You’re almost there! Once you’ve added your chemicals, close the cover and turn the jets on for a full 20-minute cycle. This is a critical step that many people skip. Running the jets thoroughly mixes all the chemicals into the water, ensuring they are evenly distributed throughout the spa. It also circulates the freshly treated water through your clean filters one last time. After the cycle is complete, you can test the water again to confirm everything is in the ideal range. Once it’s balanced and the sanitizer level is correct, your Hot Spring spa is officially clean, fresh, and ready for you to enjoy.
Common Hot Spring Cleaning Mistakes to Avoid
Your Hot Spring spa is an investment in your well-being, and a little know-how goes a long way in protecting it. While cleaning isn’t complicated, a few common missteps can cause cloudy water, damage your spa’s components, or just create more work for you down the road. Let’s walk through the most frequent mistakes I see homeowners make so you can keep your hot tub pristine and ready for relaxation. By avoiding these simple errors, you’ll ensure your spa runs beautifully for years to come.
Using Abrasive or Household Cleaners
When you see a bit of grime, it’s tempting to reach for the same all-purpose cleaner you use in your kitchen or bathroom. Please don’t. Household products often contain harsh chemicals, bleach, or abrasive agents that can permanently scratch or discolor your hot tub’s acrylic shell. This damage isn’t just cosmetic; it can create a porous surface where bacteria and biofilm love to hide. Always stick to cleaners specifically formulated for hot tubs. They are designed to be tough on scum but gentle on your spa’s surfaces, protecting its finish and preserving its value.
Neglecting Your Filter Schedule
Think of your filters as the kidneys of your hot tub—they do the heavy lifting to keep your water clear and safe. Neglecting them is one of the fastest ways to get cloudy, uninviting water. When filters are clogged with oils, lotions, and debris, water circulation slows down, putting extra strain on your pumps and heater. This not only affects performance but can also lead to costly repairs. Rinsing your filters monthly and deep cleaning them quarterly is crucial. If you’re short on time, our Spa Valet plans can handle the routine maintenance for you, so you never have to think about it.
Skipping Water Chemistry After a Refill
You’ve drained the old water and refilled the tub with fresh, clean water from the hose. Your work is done, right? Not quite. Many spa problems start right here. The water from your tap isn’t balanced for a hot tub environment. Its pH, alkalinity, and calcium hardness levels are a total mystery until you test them. Skipping this step can lead to corrosive water that damages equipment or scale buildup that clogs your jets and plumbing. Always test and balance your water immediately after refilling. If you’re unsure, just bring a sample to any of our showrooms for a free water analysis.
Over-Treating the Water with Chemicals
In an effort to keep water sanitized, some owners get a little heavy-handed with the chemicals. While sanitizer is essential, adding too much can do more harm than good. Over-chlorinating or adding excessive amounts of shock can irritate your skin and eyes, fade your swimwear, and even corrode spa components like pillows and jet fixtures. It also creates a harsh chemical odor that ruins the relaxing atmosphere. Always measure your chemicals carefully and add them according to the package directions and your water test results. The goal is balanced, clean water—not a chemical soup.
Your Ongoing Hot Tub Maintenance Checklist
A deep clean is essential, but the real secret to a crystal-clear, always-ready hot tub is consistent care. Think of it less as a chore and more as a simple routine that protects your investment and ensures your spa is a sanctuary of wellness, not a source of stress. By breaking down maintenance into small, manageable daily, weekly, and monthly tasks, you can keep your Hot Spring spa in perfect condition with minimal effort. Here’s a simple checklist to follow.
Daily: Skim Debris
Each day, just take a quick peek at your spa. Before you even lift the lid, make sure the power is on and the cover is securely latched. This simple check ensures your water is circulating and heating properly while staying protected. If you notice any leaves or debris floating on the surface after a soak, use a skimmer to remove them right away. This prevents them from getting pulled into your filter system and keeps your water looking inviting for your next dip.
Weekly: Test Water and Adjust
Once a week, set aside a few minutes to test your hot tub water. You’ll want to check the levels for pH, alkalinity, hardness, and your sanitizer. Keeping these levels balanced is the key to safe, comfortable water that won’t irritate your skin or eyes. If you’re ever unsure about your results or what to add, just bring a sample to any of our showrooms. We offer a free water analysis and can give you expert advice to get your chemistry just right.
Monthly: Rinse and Inspect Filters
Your filters are the unsung heroes of your spa, working tirelessly to trap impurities. To keep them working efficiently, you should clean your spa filters every month. For most routine cleanings, you can simply spray them down with a garden hose to remove any trapped dirt and debris. While you’re at it, give them a quick inspection for any signs of wear or damage. A clean filter means clearer water and less strain on your spa’s components. If you find maintenance becoming a hassle, our Spa Valet Plans can handle it all for you.
Always: Shower Before Soaking and Keep the Cover On
Two simple habits can make a huge difference in your water quality. First, always shower without soap before getting into the spa. Lotions, perfumes, and detergents on your skin and swimwear can throw off your water chemistry and create foam. Second, keep your cover on and latched whenever the hot tub isn’t in use. A good Hot Spring hot tub cover keeps out dirt and leaves, saves energy by holding in heat, and acts as a critical safety barrier for children and pets. It’s one of the easiest and most effective things you can do for your spa.
Related Articles
- Hot Tub Maintenance Tips
- Hot Tub Maintenance Cost: A Complete Guide
- Hot Tub Repair: Costs, Fixes & Pro Tips
Frequently Asked Questions
How often should I drain and deep clean my hot tub? As a general rule, plan to drain, clean, and refill your Hot Spring spa every three to four months. However, this can change based on how often you use it. If you’re soaking several times a week or often have guests, you might find that doing it closer to every three months keeps the water feeling fresh. If you use it more sparingly, you might be able to stretch it to six months. The key is to pay attention to your water quality—if it starts getting difficult to keep clear and balanced, it’s definitely time for a refresh.
Why is using a line flush so important before I drain the water? Think of the plumbing you can’t see. Over time, oils, lotions, and other organic materials build up inside the pipes, creating a hidden layer of gunk called biofilm. Simply draining the water leaves all of that behind. A line flush product is specifically designed to circulate through the plumbing and break down that buildup, pushing it out into the old water. Skipping this step is like mopping a floor without sweeping first—you’re just moving the mess around. Using a line flush ensures you’re starting with a truly clean system, not just a clean shell.
Is it really safe to put my gray Tri-X filters in the dishwasher? Yes, it absolutely is! This is one of the best features of the FreshWater Salt System’s Tri-X filters. They are specifically designed to handle the hot water of a dishwasher cycle, which does an amazing job of dissolving and washing away built-up oils. Just be sure to place them on the racks by themselves, without any dishes. Most importantly, do not use any soap or detergent and skip the heated dry cycle at the end. The hot water alone is all you need for a deep, effective clean.
What’s the most common reason for cloudy water right after a fresh fill? Nine times out of ten, cloudy water in a freshly filled spa comes down to imbalanced water chemistry. Many people get excited and add their sanitizer right away, but you have to balance your pH and total alkalinity first. If those levels are off, your sanitizer can’t work effectively, and you’ll be left with a hazy, uninviting tub. Always start by testing and adjusting your pH and alkalinity, circulate the water, and only then add your sanitizer.
I followed all the steps, but my water is super foamy. What did I do wrong? Foam is almost always caused by one of two things: leftover cleaning residue or detergents. When you cleaned the shell, it’s possible a small amount of soap wasn’t completely rinsed away. The jets will whip that right into a foamy mess. The other common culprit is laundry detergent clinging to swimsuits. To avoid this, make sure you give the shell an extra thorough rinse before filling, and encourage everyone to shower without soap and use suits that have been rinsed in plain water before getting in.