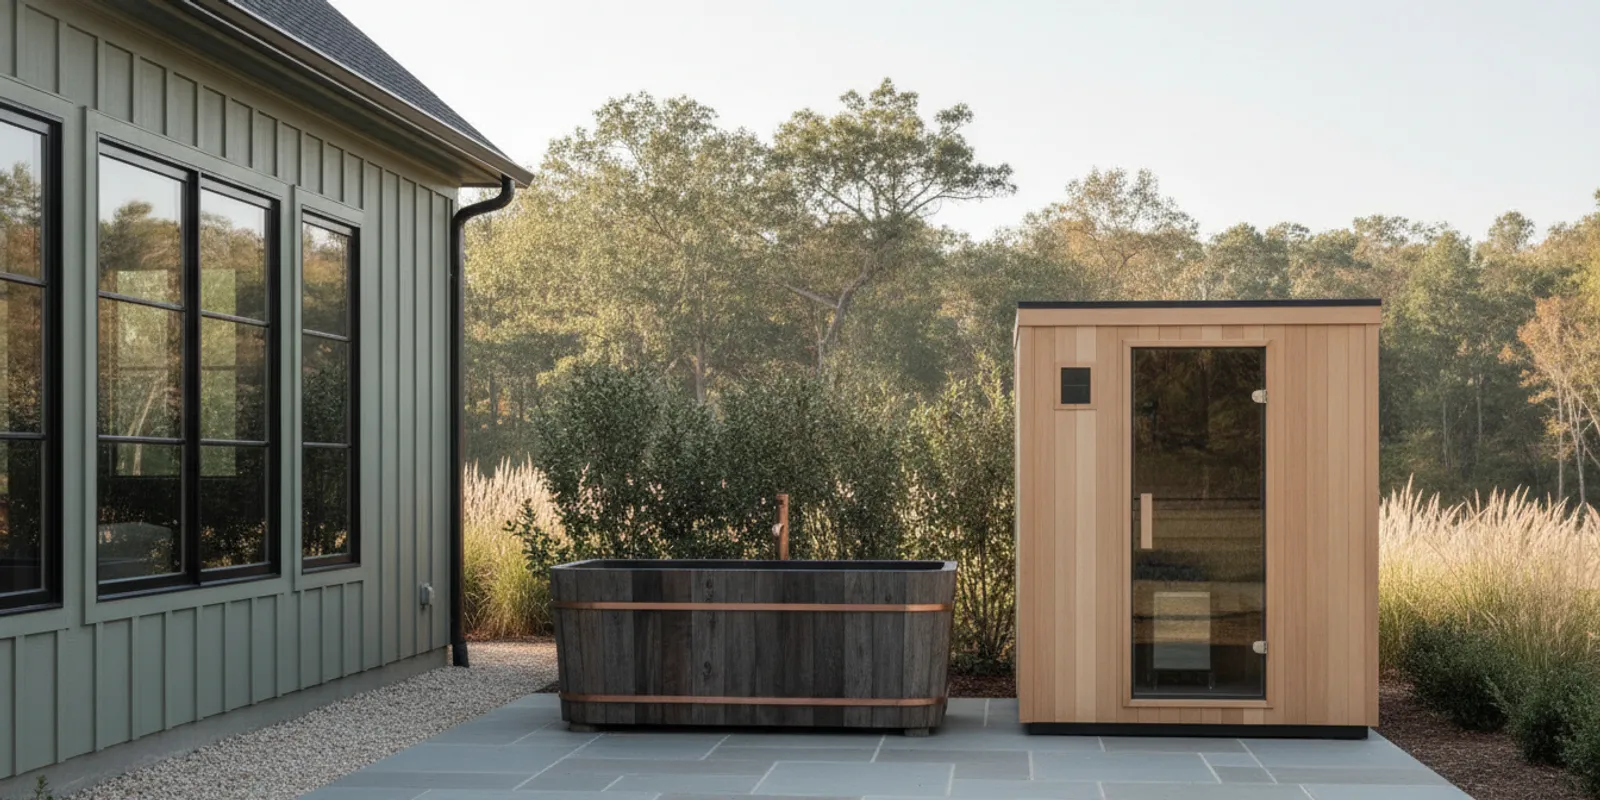
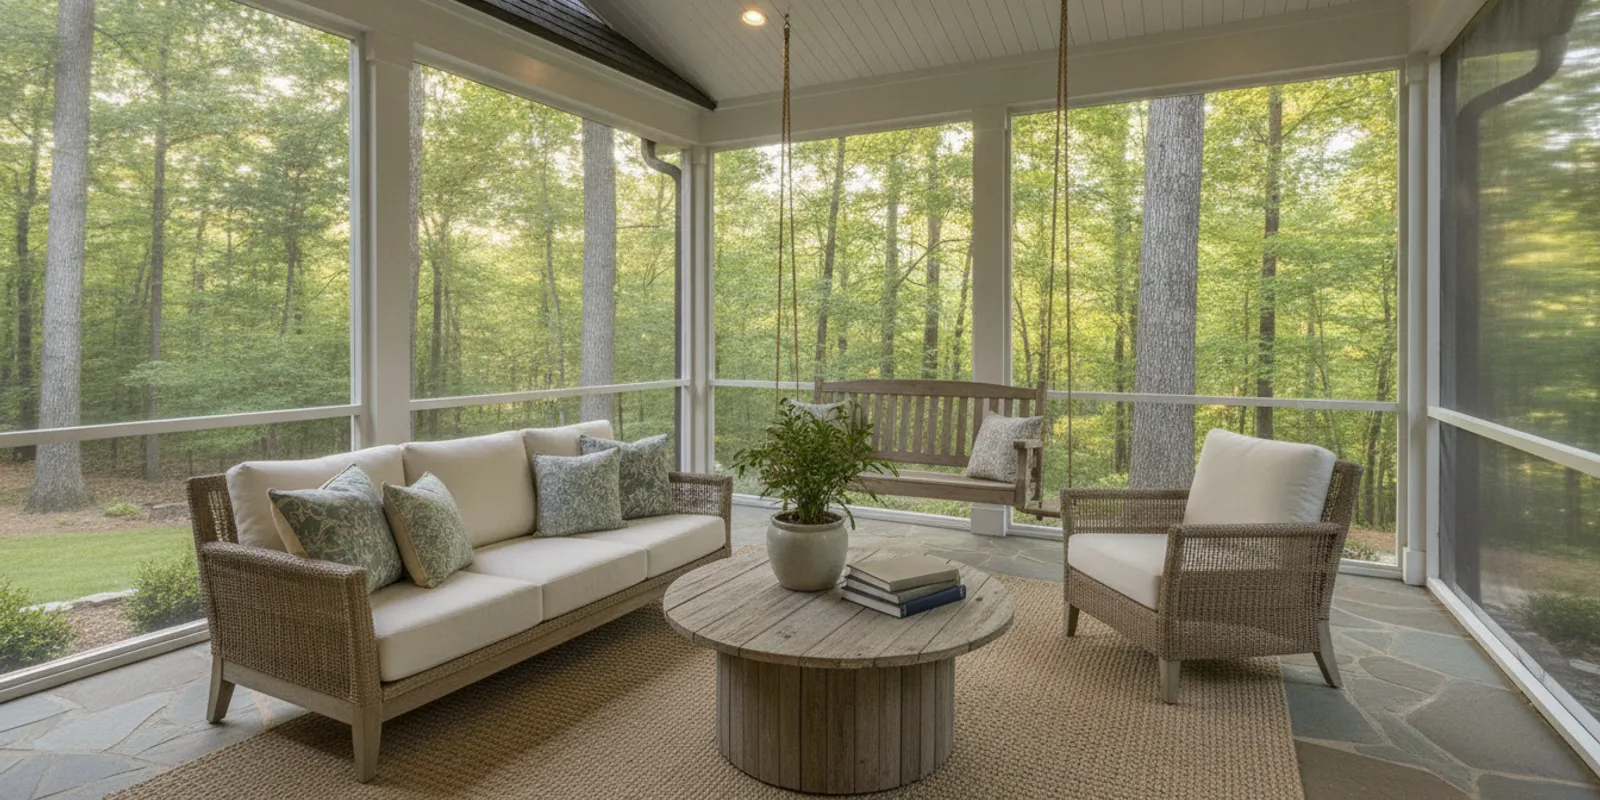
A good cold plunge installation starts well before the unit arrives. The right spot needs to work for your daily routine and for the practical details behind the scenes: a stable surface, a workable delivery route, a plan for water, and electrical requirements confirmed for the exact model. Thinking through those pieces early can help you avoid last-minute changes and make the plunge feel naturally connected to your home. This guide focuses on site planning, not a particular recovery routine or product ranking.
Request a home design consultation
What should your cold plunge installation make possible every day?
Begin with the way you expect to use the space. Is this a quiet, personal corner for a short daily ritual, a wellness area shared with family, or one part of a larger sauna-and-plunge setting? A spot that seems convenient on a plan may feel exposed, awkward, or too far from the house when you use it regularly. Picture your actual route: where you will enter the yard, set down a towel, change, and return indoors.
In the Carolinas, outdoor living can span warm, humid days and cooler months. Consider how the space will feel in each season, including sun exposure, shade, wind, and privacy. Shade can make an area more comfortable in summer, while a sheltered position may feel more inviting on a chilly day. Do not assume an enclosure is automatically better; ventilation, access for service, and the manufacturer’s siting instructions all matter.
If the plunge will share a wellness area with a sauna, lay out the whole experience rather than placing each item independently. Leave a clear transition between them, space to move safely, and a practical location for towels and supplies. A nearby sauna can make the area feel intentional, while a visit to a showroom for a test soak experience can help you assess the comfort and access of wellness equipment before committing to a layout.
How do you choose a location that works indoors or outdoors?
Start by identifying two or three plausible locations instead of falling in love with the first open patch. Compare how close each spot is to the house, how visible it is from neighbors and gathering areas, and whether a delivery team could reach it. Then check the product’s dimensions and installation documentation against each candidate. Account for the full footprint, including any cover, access panels, steps, and the room needed to move around the unit.
For an indoor location, confirm that the room can accommodate the unit and its maintenance access. Consider the route from the exterior door, ceiling height and turns, ventilation, moisture management, and the room’s intended use. A finished basement or spare room may look convenient, but tight turns, low ceilings, or limited access around equipment can complicate delivery or ongoing service. Ask the product provider what clearance and room conditions the specific model requires.
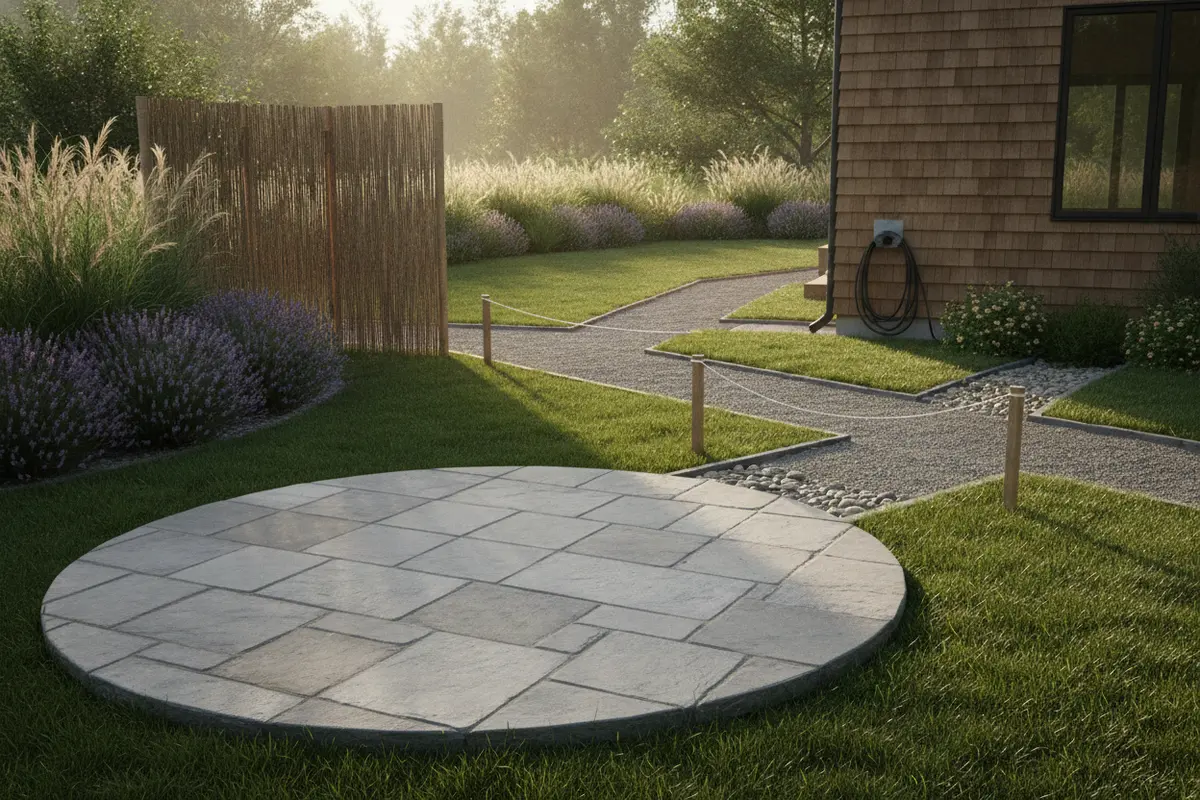
For an outdoor location, look at the relationship to the house and the rest of the yard. A plunge close to a door can make a short routine easier, but it should not obstruct a walkway or interfere with a future project. Consider roof runoff, tree debris, low spots, irrigation spray, and nearby cooking or entertaining areas. A location near a patio may connect naturally with outdoor living; if you are planning a broader surface upgrade, compare it with the home’s patio and paver possibilities while keeping the plunge’s support needs in view.
Privacy should be balanced with airflow and service access. Screens, fencing, and planting can create a calmer feel, but avoid boxing the unit in before you know the required clearances. Also check sightlines from windows and doors: the best location is one that feels private when occupied yet remains accessible for maintenance.
Compare the candidate spots against the same practical questions. Can you reach it comfortably in the weather you expect to use it? Is there a clear, dry place for a towel and belongings? Can another person pass without squeezing between the unit and a wall? Will a cover or lid move freely, and can the service side stay open after landscaping is complete? These everyday details are easier to address on a sketch than after a pad or screen is built.
Mark the proposed footprint on the ground with tape or temporary markers, then walk around it and along the intended route. Include the approach space and service clearance shown in the product documents, not just the shell dimensions. Take photos from the house and neighboring sightlines, and note slopes, downspouts, tree canopy, and nearby utilities. Those simple observations give your product provider and site professionals a more useful starting point for confirming whether the location is workable.
Which surface can support the plunge and stay practical?
A filled cold plunge is a concentrated load. The support surface must be appropriate for the filled unit and the way its weight is distributed. Do not assume that a lawn, an existing deck, or a decorative patio is suitable because it looks level. Ask the manufacturer or dealer for the unit’s filled weight, footprint, and support requirements, then have the relevant site professional assess the proposed surface if needed.
Check that the base is level, stable, and prepared according to the product instructions. Uneven support can affect how a unit sits and may create problems with operation or fit. The exact construction approach depends on the model and site; avoid relying on a generic pad thickness or foundation recipe. If the proposed spot is on a raised deck, have its capacity and structural details evaluated before placing an order. A deck that supports people and outdoor furniture is not automatically designed for a filled plunge.
Think about the surface around the unit as well as beneath it. Wet feet need a sensible, slip-conscious route, and there should be somewhere to stand without blocking an access panel. Choose finishes that fit your cleaning preferences and local weather exposure. If pavers are part of the design, coordinate their layout and base preparation with the equipment requirements instead of treating the plunge as a small decorative object added at the end.
| Site option | What to verify | Planning question |
|---|---|---|
| Ground-level patio or pad | Level, stable support; water path; clear service access | Does the base meet the exact model’s filled-load and support requirements? |
| Existing deck | Structural capacity, access, surface condition, and drainage | Has a qualified site professional confirmed the deck can carry the filled unit? |
| Indoor room | Floor support, delivery route, ventilation, moisture handling, and clearances | Can the unit be installed and serviced without blocking the room? |
| Newly designed outdoor area | Base preparation, grading, access route, utilities, and future landscaping | Can the plunge’s requirements be included before the hardscape is finished? |
How should you plan water handling and drainage?
Water is part of both filling and regular care, so decide how you will manage it before choosing the final position. Identify a practical route for filling, and ask what connection or hose arrangement the specific unit uses. Think through where water could go during cleaning, maintenance, or an accidental spill. The goal is to avoid directing water toward the home, a neighboring property, a walkway, or a spot where it can collect.
Do not assume that a convenient floor drain, yard slope, or storm drain is an approved disposal route. Local rules and site conditions differ. Confirm discharge expectations with the local authority and the relevant trade professional, especially for an indoor setup or a planned permanent drain. A drainage plan should address normal care and foreseeable splashes, not just an unlikely major leak.
Outside, observe how rain already moves across the yard. Roof downspouts, sloping paving, and low ground can send water toward a proposed pad. Indoors, discuss water-resistant finishes, nearby floor drains if present, and moisture protection with the appropriate professionals. Keep a water-care area in mind too: Fun Outdoor Living offers free water analysis, and a convenient place to handle routine testing can make ownership simpler.
Ask the product team what cleaning and water-care tasks are expected, how often the unit may need draining under your use conditions, and what supplies should be nearby. Leave enough room to reach the relevant parts and follow the manual. Treat water disposal as a site-planning question, not something to improvise on the first maintenance day.
What electrical details should be confirmed before delivery?
Electrical requirements vary by model and configuration. Do not select a location based only on a nearby outlet or assume that an existing circuit is suitable. Obtain the installation documentation for the exact unit, and have a qualified electrician review the planned location and supply requirements. Confirm the power specifications, circuit needs, disconnect or other required equipment, outdoor protection, cable route, and any clearances applicable to the product and site.
Ask who is responsible for each part of the work and when it must be complete. Clarify whether electrical preparation is needed before delivery, what inspection or local approval may apply, and how the electrician will coordinate with the delivery and installation team. Requirements can depend on the model, the property, and local rules, so the final answer should come from the product instructions, electrician, and authority having jurisdiction, not a general online checklist.
For general fire and electrical safety information, you can consult the National Fire Protection Association, then confirm the requirements for your project with your electrician and local authority. Keep the equipment’s operating and service access in mind when planning utility routes. Do not bury or conceal connections in a way that conflicts with the product instructions or makes service difficult.
If you are also planning a sauna, outdoor kitchen, or other equipment, tell the electrician about the complete project early. A coordinated plan can clarify where routes may share space and where separate circuits or protections may be required. Avoid making assumptions about what can be combined: have the electrician evaluate the actual load and installation instructions for each item.
How do delivery access and service clearance affect placement?
A carefully chosen final spot is only useful if the unit can get there. Trace the delivery route from the vehicle access point to the installation location. Measure gate openings, narrow paths, steps, turns, overhead obstructions, and any change in elevation. Account for landscaping, fences, air-conditioning equipment, outdoor furniture, and gates that may need temporary adjustment. Give the product team accurate measurements and photos rather than relying on a rough estimate.
Ask how the unit will be moved and what access conditions the delivery crew needs. The size and handling method differ by product, so do not count on a particular path or maneuver until the provider confirms it. If the direct route is not workable, discuss alternatives before the site is finished. A crane or other special access method may require separate planning and cost, so confirm availability, permissions, and site feasibility with the responsible providers rather than assuming it will be possible.
Plan clearance for the installed unit, too. Access panels need to remain reachable, and service technicians need room to work safely. Account for covers and lifters if the model uses them, as well as the space needed to approach, enter, and exit the plunge. Avoid placing the unit where a future fence, hedge, or furniture arrangement would block routine access. Fun Outdoor Living provides service and repair support; designing for access from the start can make future maintenance more straightforward.
Before delivery, confirm who will clear the route and when. Remove movable items, secure pets, and agree on a point of contact for any access questions. If construction, electrical work, or hardscape changes are still underway, coordinate the schedule so the delivery does not arrive before the site is ready.
What should you include in a site-planning checklist?
Make the planning conversation concrete. Bring a product model or shortlist, dimensions, installation documents, photos, and measurements. If you are still comparing models, make a note to explore cold plunge options and their different space needs before fixing the layout. A plan can evolve, but decisions about the base, access, and utility routes are easier to coordinate before construction begins.
- Confirm the exact model, dimensions, filled weight, support requirements, and maintenance clearances.
- Measure the delivery route, including gates, turns, steps, slopes, and overhead obstructions.
- Identify the proposed indoor or outdoor location and assess privacy, weather exposure, and everyday access.
- Have the base or deck reviewed for the specific load and surface requirements.
- Discuss filling, drainage, spill handling, and water disposal with the relevant product and site professionals.
- Give the exact installation specifications to a qualified electrician and clarify local approvals or inspection needs.
- Agree who will prepare the route, complete site work, coordinate utilities, and confirm readiness before delivery.
- Keep manuals, approvals, service contacts, and care instructions where you can find them after installation.
For a larger backyard project, treat the plunge as one part of the overall plan. A patio, privacy screen, path, or sauna may be easier to coordinate together than to add in separate phases. Fun Outdoor Living’s home design consultation offers a place to discuss how a wellness feature can fit your home and outdoor space. For additional inspiration, consider how the area could connect to a broader contrast therapy setting without letting a future idea crowd the access and service needs of the plunge itself.
How can you coordinate the work before installation day?
Once the location is selected, make a simple sequence. First, confirm the model and its instructions. Next, confirm the delivery route and the site work required. Then have the electrician and any other relevant professionals review their scopes and local requirements. Complete the surface and utility preparation, and ask the product provider to verify the site is ready before scheduling delivery. The precise order can vary, but responsibilities should be clear.
Write down the decisions that are easy to forget: where the unit will sit, which side needs service access, who is managing drainage, what electrical work is planned, and who signs off on readiness. Keep photographs of the route and finished base. If a dimension changes or a new obstruction appears, share it promptly with everyone involved instead of expecting one team to discover it on delivery day.
Ask for a final walk-through of the installation conditions. Confirm that the unit is positioned as planned, accessible for care, and set up according to its instructions. Review the operating and water-care guidance with the product provider, and note whom to contact for service questions. If you want help making a routine manageable, ask which water-care steps apply to the specific model and what supplies should stay close at hand. Keep the manufacturer’s instructions accessible, and use the free water analysis resource linked above when you need help assessing the water.
Good coordination is especially helpful when the plunge is part of a broader renovation. Decks, pavers, electrical work, landscaping, and wellness products may involve different schedules. A shared plan can help protect finished work and reduce surprises, while a clear point of contact keeps decisions from getting lost between trades.
Talk through your cold plunge site plan
Frequently asked questions
Can a cold plunge sit on an existing deck?
Possibly, but the deck should not be assumed suitable. Ask for the plunge’s filled weight and support specifications, then have a qualified professional evaluate the actual deck structure and proposed location before installation.
Does every cold plunge need a dedicated electrical circuit?
Electrical needs depend on the exact model and configuration. Check the manufacturer’s installation documentation and have a qualified electrician confirm the circuit, protection, and local requirements for your home.
Can I install a plunge indoors?
An indoor installation may be possible if the room, floor support, delivery route, ventilation, moisture handling, and service clearances meet the product and site requirements. Confirm those details with the product provider and relevant professionals before selecting the room.
What should I do about drainage?
Plan how the unit will be filled, cleaned, and maintained, and where incidental water can go without damaging the home or creating a nuisance. Confirm any drain or discharge plan with local authorities and the appropriate site professional instead of assuming a nearby drain is approved.
When should I prepare the site?
Start before delivery is scheduled. Confirm the model, route, surface, water plan, and electrical requirements early enough for any site work and approvals to be completed. Ask the product provider to verify readiness before the unit arrives.
With the site, access, water, and electrical questions answered ahead of time, you can approach delivery with a clearer plan and make the new plunge a comfortable part of your home.