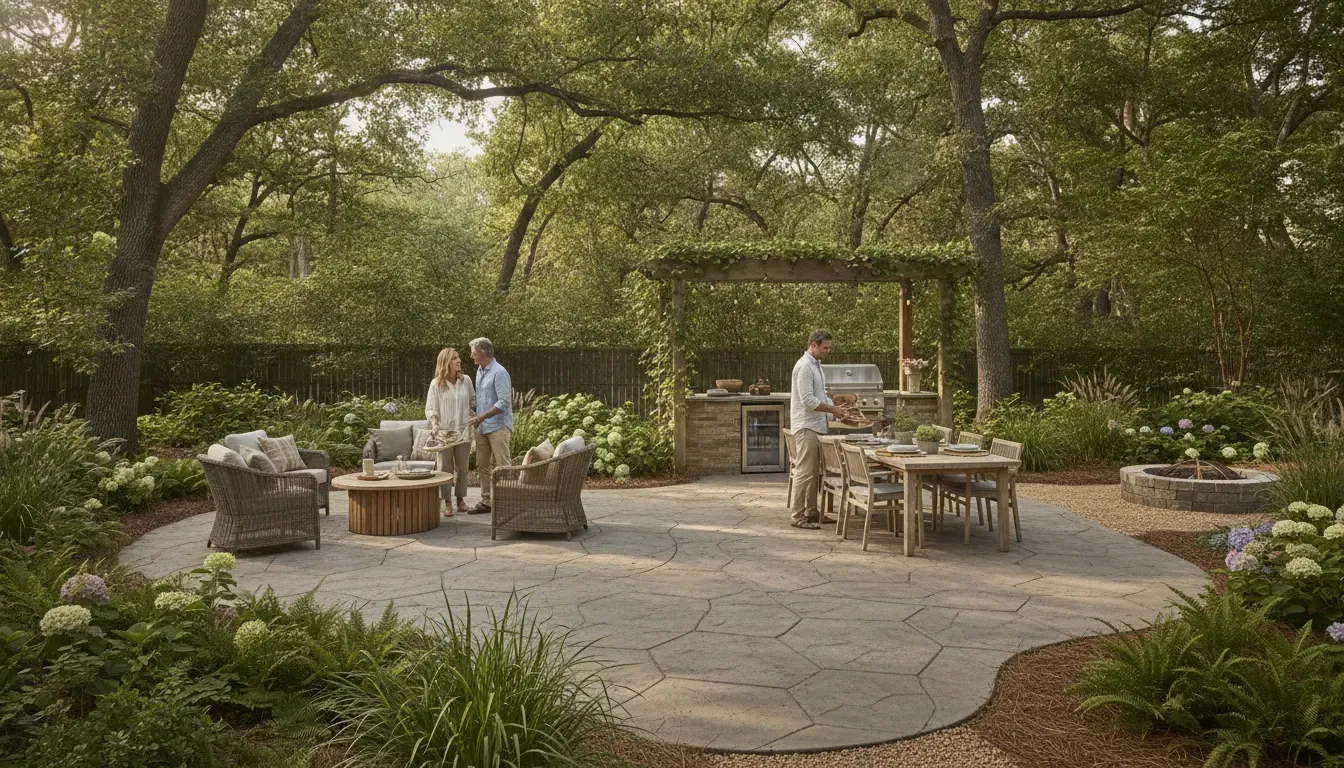
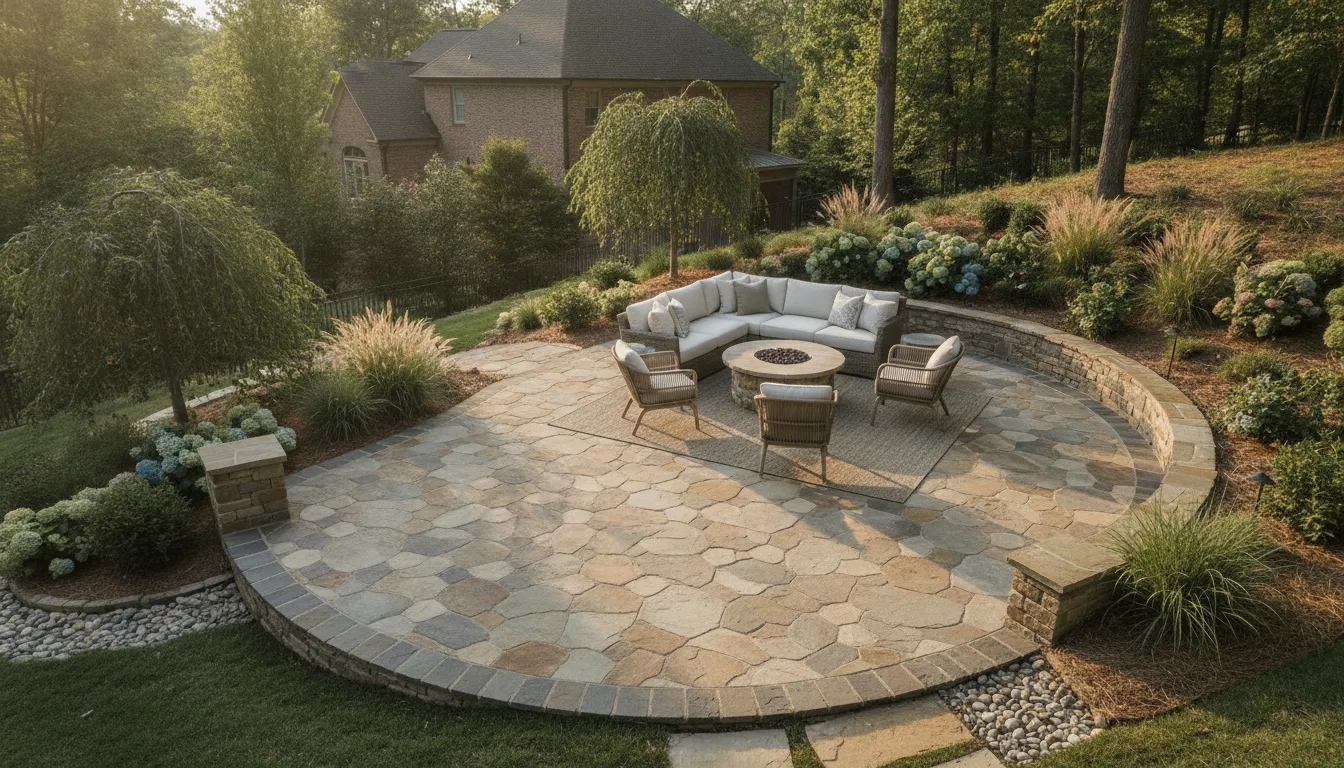
A home recovery space should make the transition from a demanding day to a quiet evening feel effortless. Not send you across a slippery patio searching for a towel. The best cold plunge sauna room ideas begin with the homeowner’s real routine, then solve the less glamorous details: a short path, dependable drainage, comfortable privacy, and equipment access. Whether the setting is a Carolina backyard, covered patio, garage, or indoor-adjacent room. Thoughtful planning turns two separate products into one cohesive space you will actually want to use.
Quick answer: Plan the sauna and cold plunge as three connected zones: a dry arrival and changing area, a heat-to-cold transition path, and a wet service area. Keep the route short and unobstructed, use slip-resistant flooring, direct water toward an approved drain, preserve required equipment clearances, and screen key views without blocking airflow. Final dimensions and utility requirements should follow the selected models and a site-specific professional review.
Start With the Ritual, Not the Equipment
A successful plan begins with a simple question: what should using this space feel like on an ordinary Tuesday? Some homeowners want a quiet solo routine before work. Others expect a spouse, older children, or friends to share the space on weekends. Those patterns determine whether the room needs one robe hook or a full changing bench. A compact path or a wider circulation zone, and subtle lighting or brighter task lighting for evening use.
Map the entire visit from start to finish. Where will you leave shoes and a phone? Where will dry towels stay protected from splash and humidity? Can you move from the sauna to the plunge without crossing a door swing, step, hose, or seating area? Where will you pause afterward? This sequence is more useful than choosing a layout based on a styled photograph because it reveals friction before construction begins.
Organize the Space Into Three Working Zones
The dry zone is the arrival point. It should hold towels, robes, footwear, water, and a bench without becoming part of the splash path. The transition zone connects the sauna and plunge. It should be direct, well lit, slip resistant, and free of clutter. The service zone includes the plunge chiller, drain connection, controls, shutoffs, and access panels. It can be visually discreet, but it cannot be inaccessible.
Place the sauna and plunge close enough for a natural transition, while respecting every manufacturer clearance and allowing the sauna door to open fully. Avoid forcing a wet user through a narrow gap. A short route with a stable handhold, visible floor edge, and no level changes is usually more valuable than squeezing another decorative feature into the plan.
Choose a Layout That Fits the Site
| Layout. | Best Fit. | Planning Priority. |
|---|---|---|
| Side by side. | Long patios, wide walls, and linear rooms. | Keep the wet path clear of door swings. |
| L-shaped. | Corner patios and square rooms. | Protect the inside corner from clutter. |
| Facing. | Wider rooms with a central aisle. | Leave comfortable circulation between units. |
| Indoor-adjacent. | Covered patios, garages, and back-door zones. | Control tracked water at the threshold. |
Fun Outdoor Living can help compare layouts against the actual site rather than treating a generic footprint as a finished plan. A consultation should account for how the selected sauna opens, how the plunge is filled and drained. Where the chiller breathes, and how people enter and leave the area.
Cold Plunge Sauna Room Ideas by Location
The right location balances convenience with construction realities. An isolated garden corner may look peaceful, but a long walk and difficult utility route can make it less practical. A garage may offer easy access, yet need better ventilation and moisture control. Compare each candidate location by frequency of use, privacy, drainage, power, water, weather exposure, and service access before committing.
Covered Patio or Porch
A covered patio often creates the strongest bridge between indoor comfort and outdoor atmosphere. The roof protects users and equipment from direct rain, while the open sides help the space feel connected to the yard. Place the dry zone near the house and the wetter activities farther from the door. This arrangement reduces tracked water and keeps towels convenient.
Review roof runoff before choosing the final position. A downspout that empties beside the plunge, wind-driven rain at the sauna door, or a low point that collects water can undermine an otherwise attractive design. If a new hardscape is part of the project, explore durable outdoor paver options with drainage, texture, and the complete backyard design in mind.
Deck
A deck can work well when it is designed or verified for the complete load. A filled cold plunge is substantially heavier than an empty display model, and the sauna, occupants, and supporting equipment add to that demand. Have a qualified professional assess the structure, footings, attachment points, and local requirements. Do not rely on appearance alone to judge capacity.
Deck layouts also need a deliberate strategy for splash and drainage. Water should not remain against the house, collect around electrical components, or repeatedly soak vulnerable framing. Consider whether boards will become slippery, whether dropped items can fall through gaps, and whether service technicians can reach equipment without moving the entire setup.
Garage or Indoor-Adjacent Room
A garage or room near a back door can make year-round use convenient, particularly during heavy rain or chilly mornings. It can also simplify access to a shower and indoor storage. However, an enclosed location demands a building-specific plan for heat, humidity, floor protection, ventilation, and safe electrical work. Existing drywall, wood trim, or stored belongings may not tolerate repeated moisture exposure.
Keep the recovery area separated from vehicles, lawn chemicals, workshop dust, and general storage. A wet transition path should never cross a driving lane or pass through stacked equipment. If the room cannot support controlled drainage and ventilation, an adjacent covered outdoor zone may be the better long-term choice.
Detached Backyard Room
A detached room offers strong privacy and design freedom. It can frame a garden view, separate the ritual from household noise, and support dedicated storage. The tradeoff is a more involved project: utilities travel farther, weatherproofing becomes critical, and the path from the house needs safe lighting and drainage. Plan that path as part of the room, not as an afterthought.
Plan Flooring, Drainage, and Structure Before Finishes
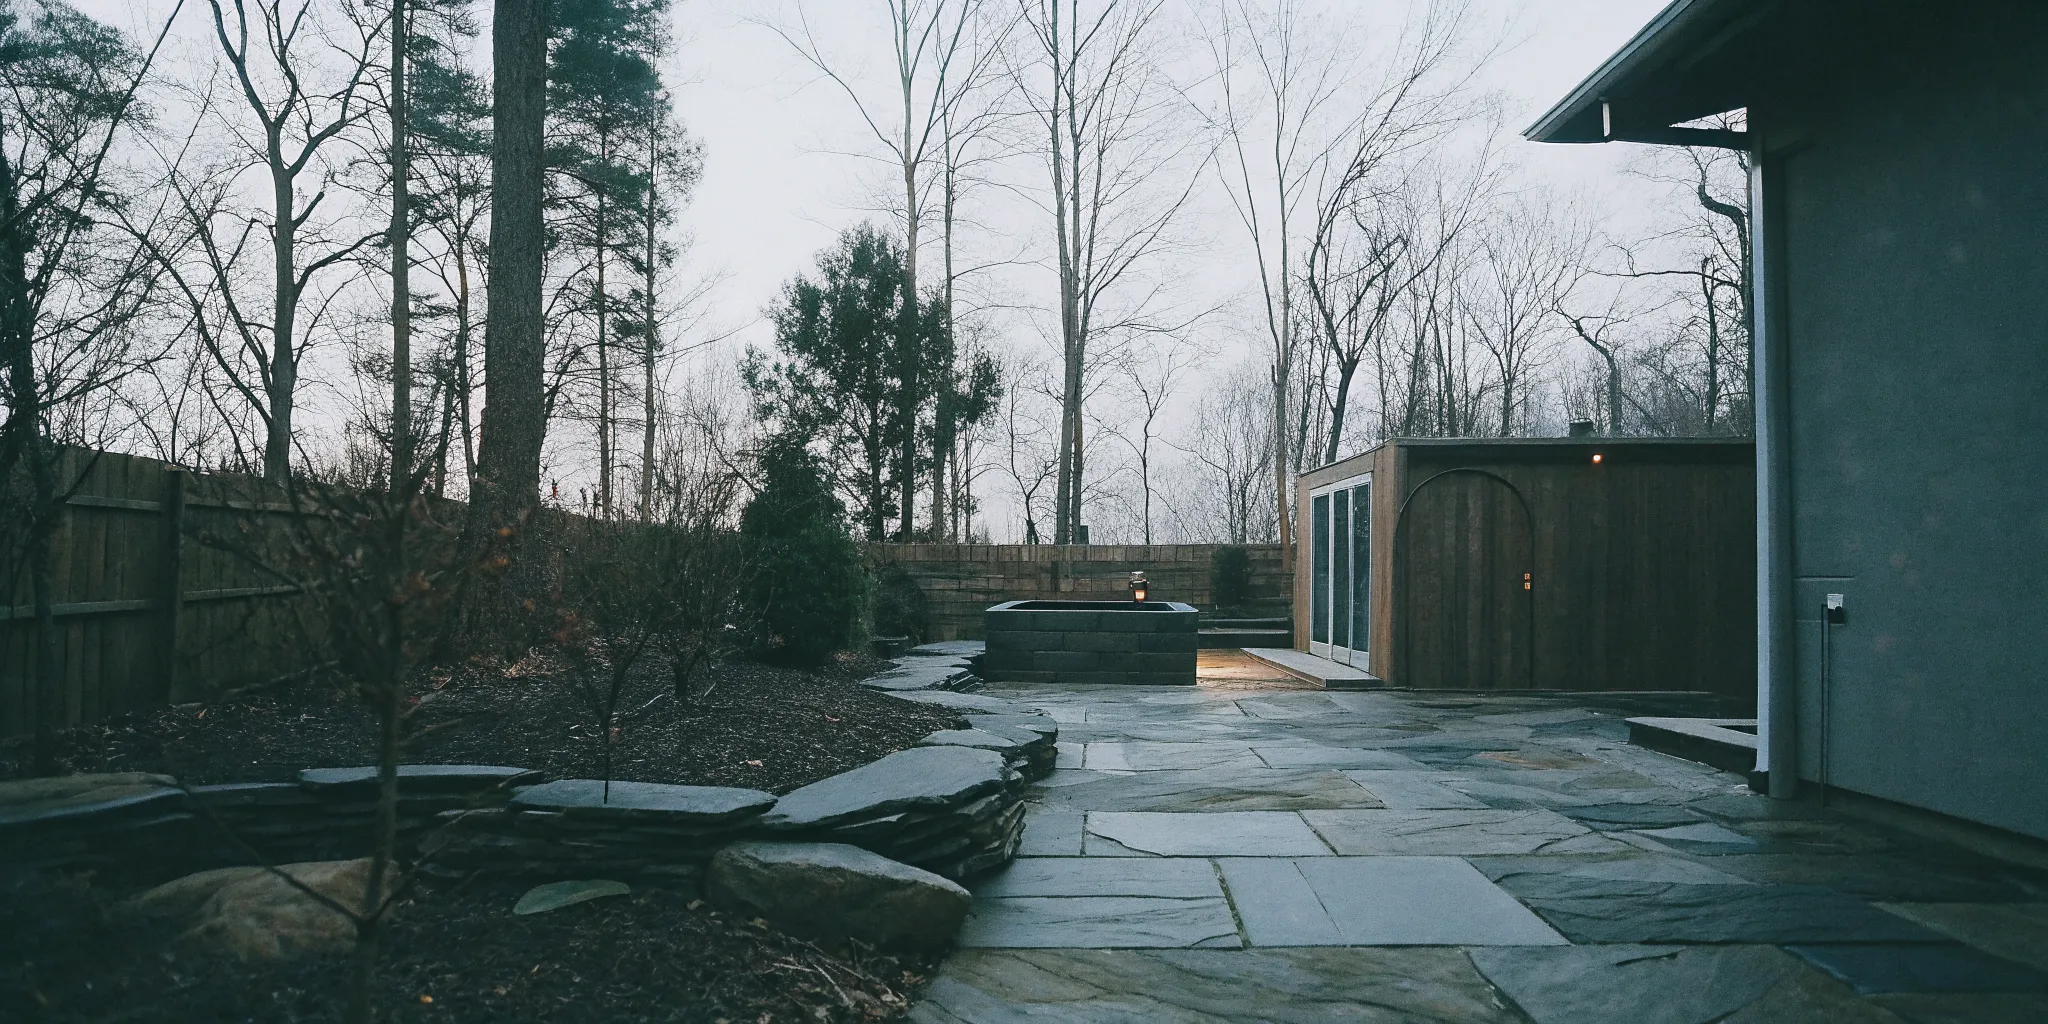
The finishes set the mood, but the floor system determines whether the space remains practical. Start by confirming structural capacity, the approved drainage destination, finished floor elevations, and the route water will take during routine splashing, cleaning, filling, and draining. These decisions should be coordinated before tile, pavers, decking, or wall finishes are installed.
Build a Controlled Wet Path
Water follows slope, not intention. The route between the plunge and sauna should direct splash away from the dry zone, thresholds, walls, and electrical equipment. A properly planned floor drain or exterior drainage route can keep water from pooling, but its placement, capacity, and connection must suit the site and local rules. Outdoor runoff should not create erosion, discharge toward a neighbor, or collect against the foundation.
Select a floor for wet-foot traction and durability rather than color alone. A beautiful polished surface may become uncomfortable or slippery when wet. Review samples in realistic lighting and ask how the material performs with bare feet, regular cleaning, heat, humidity, and Carolina weather. Minimize abrupt transitions, raised edges, and loose mats that can create trip points.
Allow Space for Cleaning and Repairs
Every component will eventually need inspection, cleaning, or service. Leave manufacturer-required access around panels, filters, controls, heaters, chillers, and connections. The person servicing the equipment should not have to lift the plunge, dismantle a privacy wall, or crawl behind permanent cabinetry. A removable screen can hide equipment while preserving practical access.
Fun Outdoor Living approaches the site as an integrated environment, which is especially useful when structural work, hardscape, equipment, and service routes affect one another. The objective is not merely to fit both units into the available area. It is to create a room that can be owned and maintained without avoidable frustration.
Coordinate Power, Water, Ventilation, and Lighting
Utility planning should begin after likely models are identified but before the final layout is locked. Different saunas and cold plunges can have different power, ventilation, water, drainage, and clearance requirements. Gather the current manufacturer specifications for each selected unit, then have qualified professionals coordinate the installation and applicable permits.
Keep Electrical Design Out of the Splash Zone
Sauna heaters and plunge chillers may require dedicated electrical provisions. Controls, receptacles, disconnects, and cable routes must be appropriate for the equipment and location. Place them where they can be reached for normal operation and service without creating a hazard along the wet path. Outdoor installations also need components suited to weather exposure.
Lighting deserves the same practical attention. Use even, glare-controlled illumination at the floor, steps, door, and controls. Low-level ambient light can make the room feel calm, but it should not conceal changes in elevation or standing water. Put switches where a dry user can reach them before entering the active zone.
Plan for Heat and Humidity
An indoor or partially enclosed sauna installation needs ventilation consistent with the selected model and room. The surrounding building assembly must also manage humidity so that repeated use does not damage ceilings, walls, doors, or nearby storage. An exhaust strategy should move moisture to an appropriate destination rather than into an attic, wall cavity, or another occupied room.
Traditional and infrared saunas create different experiences and may have different installation needs. Compare those requirements, desired temperatures, materials, seating, and room constraints when reviewing Tylo sauna options. Product selection and room design should develop together, not in separate conversations.
Make Filling, Draining, and Water Care Convenient
A cold plunge selected for your space and routine should also be easy to fill, drain, and clean. Establish how fresh water reaches the unit, where drained water goes, how filters are accessed, and where supplies are stored. Protect hoses and connections from trip hazards and weather. If equipment is outside, include a cold-weather plan based on the manufacturer’s directions and the conditions at the site.
Design for Carolina Heat, Humidity, Storms, and Cold Snaps
North and South Carolina offer long seasons for outdoor living, but the climate tests materials and equipment in multiple ways. Summer sun can heat exposed surfaces and make an unshaded transition uncomfortable. Humidity can challenge enclosed rooms. Wind-driven rain can reach beneath a roof. Pollen and leaves add cleaning demands, while occasional freezing weather requires preparation.
Orient the room to use natural shade where practical, then add a roof, pergola, or screen based on sun angles and rain exposure. Preserve airflow around equipment rather than wrapping the entire area tightly for privacy. Choose exterior-grade materials and details that can dry after storms. A small roof overhang, well-positioned gutter, or protected chiller location can prevent recurring maintenance problems.
Think seasonally about comfort. A robe hook near the sauna may be enough in summer, while winter use benefits from a protected dry zone close to the house. Fans can improve comfort around an open-air setting but should not conflict with ventilation or electrical requirements. Fun Outdoor Living’s local perspective can help homeowners balance a desired look with the realities of regional rain, heat, humidity, and occasional cold snaps.
Create Privacy Without Building a Box
Privacy is usually a sightline problem, not a reason to enclose every side. Stand at the proposed sauna door and plunge position, then identify views from neighboring windows, the street, household gathering areas, and upper floors. Screen those views specifically while keeping a pleasant outlook from inside the recovery space.
Layer Structures and Planting
Slatted screens, partial walls, pergola posts, and the sauna itself can block key angles without stopping all air movement. Offset openings so the path remains easy to navigate but is not directly visible from outside. If privacy must extend overhead, a pergola or roof edge may address upper-story sightlines more gracefully than taller walls.
Planting softens hard edges and helps the recovery area belong in the landscape. Choose plants for mature size, root behavior, maintenance, and local conditions. Avoid placing leaf-heavy or thorny plants where debris will fall into the plunge or branches will obstruct the wet path. Allow enough room to reach both the planting and equipment for care.
Use Placement to Separate Public and Private Areas
A sauna wall can form one side of a changing nook, while a screen defines another. A bench can mark the dry zone without becoming a barrier. On a larger patio, orient the recovery space away from outdoor dining and grilling so that it feels calm even when the rest of the backyard is active. This kind of zoning preserves the usefulness of the complete yard.
Make the Room Easy to Own
Good design reduces repeated small tasks. Keep fresh towels and robes in closed storage within the dry zone. Add hooks where wet items can hang without dripping across the room. Include a stable bench for changing and a nearby surface for water. Use storage that can tolerate the setting and does not block ventilation or equipment panels.
Develop a realistic maintenance route. Can leaves be swept out easily? Can the floor be rinsed without sending water into the house? Can a filter be removed without bumping a wall? Can a technician bring tools to the equipment? These questions are not decorative, but they determine whether the room still works after the novelty wears off.
Keep product care requirements accessible and follow them. Water care, cleaning schedules, sauna ventilation, and seasonal protection vary by equipment. If an issue needs professional attention, use Fun Outdoor Living’s service request option rather than improvising around electrical, heating, or water systems.
A Practical Planning Checklist
- Define the routine. Decide who will use the space, when they will use it, and where they will change, store towels, and pause afterward.
- Compare locations. Score the patio, deck, garage, or detached room for access, privacy, weather, drainage, utilities, and service routes.
- Select likely equipment. Obtain current dimensions, door swings, loads, clearances, utility needs, and care instructions.
- Map dry, transition, and service zones. Keep the wet route direct and protect the dry arrival point.
- Verify the structure and drainage plan. Have qualified professionals review loads, floor slope, discharge, and local requirements.
- Coordinate utilities. Plan electrical work, water, ventilation, lighting, and controls before finishes are installed.
- Test privacy and circulation. Mark the footprint on site, open imaginary doors, walk the route, and check important sightlines.
- Plan ownership. Reserve access for cleaning, filters, controls, repairs, storage, and seasonal protection.
Homeowners comparing a complete heat-and-cold experience can also review the fundamentals of contrast therapy before deciding which features belong in the room. The most effective plan is not necessarily the largest. It is the one that fits the household, respects the site, and makes every step from arrival through cleanup feel intentional.
Frequently Asked Questions
How much room do you need for a sauna and cold plunge?
The required footprint depends on the selected models, door swings, service clearances, and circulation path. Measure the actual equipment first, then reserve a short, unobstructed wet path and the manufacturer-required access around each unit. Include a dry changing or towel zone rather than using every available inch for equipment.
Can a sauna and cold plunge go on a deck?
They can, but a qualified professional should verify that the deck can support the filled plunge, sauna, occupants, and equipment. The plan also needs weather protection, drainage, slip resistance, safe utilities, and maintenance access. Structural approval should come before equipment placement.
What flooring works best around a sauna and cold plunge?
A durable, water-tolerant, slip-resistant surface is usually the practical choice. Properly installed textured tile, stone, or suitable pavers can work when paired with a planned slope, drainage route, and materials approved for the location. Review bare-foot comfort and wet traction before deciding.
How do you make an outdoor recovery space private?
Block important sightlines rather than enclosing every side. Layer slatted screens, planting, a pergola or roof edge, and careful equipment placement while preserving airflow, safe access, and an open view from inside the recovery zone. Check views from neighboring upper floors as well as ground level.
Bring the Whole Recovery Space Together
The strongest cold plunge sauna room ideas connect equipment, landscape, utilities, and daily habits in one plan. Begin with the route a wet user will take, solve drainage and structural needs early, protect the room from Carolina weather, and build privacy around actual sightlines. When the practical decisions are resolved, wood, stone, lighting, planting, and furnishings can create a calm setting without hiding maintenance problems. A consultative, site-specific plan from Fun Outdoor Living can help turn an appealing concept into a durable part of the home.